 |
| Can you tell it's only my 2nd week of summer break at home? I homeschool the rest of the year, and don't have alot of time for crafting. Now that summer is here, I find myself making something every day! Bear with me. :) I wear alot of these store-bought kinds of headbands, and have been wishing to dress them up for weeks. My niece Kara of Sweet Baby Cakies had recently made some melted felt flowers and told me how to do it. That's exactly what I had wanted to do with my headbands, so today it was on my schedule of things to do. |
 |
| I used my circle punches to make 2 paper patterns...one smaller and one larger. Then using white felt I cut out three of each size. Perfection not required as you will see. |
 |
| I then lit a candle to use as the flame that would gently melt the sides of my felt circles, and had a bowl of water nearby for dousing any accidental flames! Didn't need it, thankfully. |
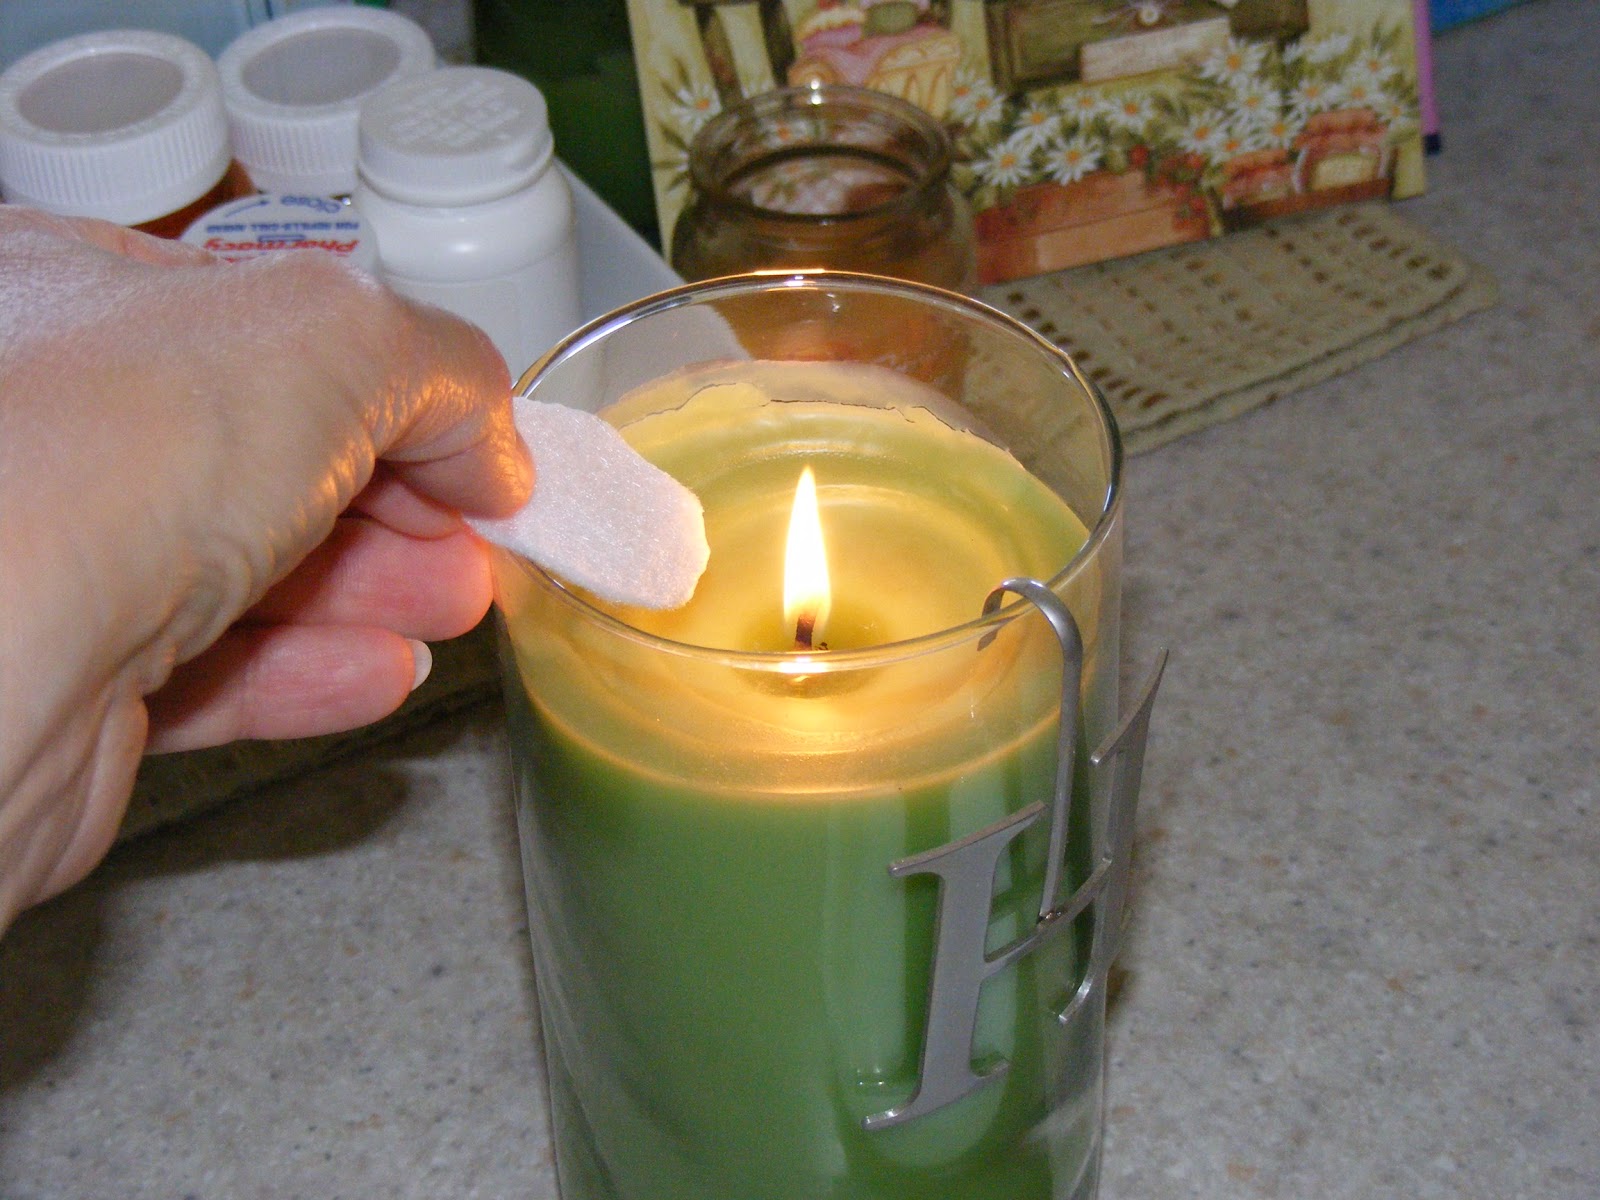 |
| I held the felt circles near to the flame. Sometimes beside the flame and sometimes above the flame, aiming the edges of the circle toward the flame. It was really cool to watch how the felt would shrink away from the flame as it slightly melted and circled on the edge. My fingers got alittle hot when I'd have to turn the circle and hold the already-melted edge, so I used tweezers to hold the felt at times. Just gently go around the whole thing until it has melted and curled a bit. Try not to scorch it but if you do just a little bit, snip that part off. |
 |
| Can you see the right side has alittle bit of a hard edge to it? It's been melted. The sides with fuzz still on them have not. |
 |
| The edges do not melt in a perfectly uniform way, so that's why a perfectly cut circle is not needed at the outstart. |
 |
| All six felt circles have been melted to the size and shape I want. |
 |
| Whenever possible, I like to make-do with whatever supplies I have on hand. These vintage beads were purchased in a lot at a garage sale for $1.50, so I just hoped there would be beads in here that would be the right color. Notice that the beads were the craft supply that I finally decided to put into my new milk jug caddy...read about it HERE. |
 |
| Bingo!! I was thankful to find a necklace among the bunch with the perfect color periwinkle blue beads! Thank you Jesus! |
 |
 |
| Now to sew them together. I sewed the bead to the double layer of felt circles, being sure to keep my stitches hidden under the top circle. Used a double white thread and a craft needle to do this step first. THEN I sewed the flowers to the headband. |

|
| I overlapped the felt flowers a bit as I sewed them to the headband, taking care to hide my stitching as much as possible. |
 |
| Finis!! Son Tanner again was my photographer, so hopefully you can see the finished product ok. |
 | |
| In love. Smitten. Like alot. |
Blessings,