Tuesday, July 23, 2013

Amazing, Moist Chocolate Chip Bran Muffins


Long ago when I had given birth to one our babies, a sweet friend brought us dinner.  And part of the dinner was a tin full of Grandma Larson's Bran Muffins.  They were from a recipe in her husband's family and they were moist, delicious, and tender.
They have become my favorite muffin recipe!  And since I made some this week, I thought I'd share this treat with you.  I have made some adjustments to the recipe to fit the ingredients I have on hand and to add a bit of chocolate to them.  So here we go!


The adjustments I made to the recipe are listed below:

1 1/4 c. boiling water
3 c. raisin bran flakes
1/2 c. cooking oil
1 c. sugar
2 beaten eggs
2 c. buttermilk (from a carton or homemade sour milk or buttermilk made with dry mix)
2 1/2 c. flour
3 tsp. soda
1/2 t. salt
1/2 cup chocolate chips stirred up with a teaspoon of flour so they won't sink to the bottom of the muffin.

Go ahead and follow the original directions while making the above substitutes if you wish.  I don't buy All Bran cereal, so that's why I just use bran flake cereal or raisin bran cereal.  I increased the boiling water since I add it to the whole 3 cups of raisin bran.  And please know that this recipe is very forgiving...if your batter is alittle thinner than you think it should be (mine was this past time) just add some more bran flakes to it.  Works just fine.

The recipe makes about 24 muffins.  I like to bake them right in the tin without liners but then when I give them to friends or family I sometimes place the finished muffin in a liner for a nicer presentation.  As the recipe says, you can bake a batch, then keep the rest of the batter in the fridge for up to 6 weeks.  Brilliant!!

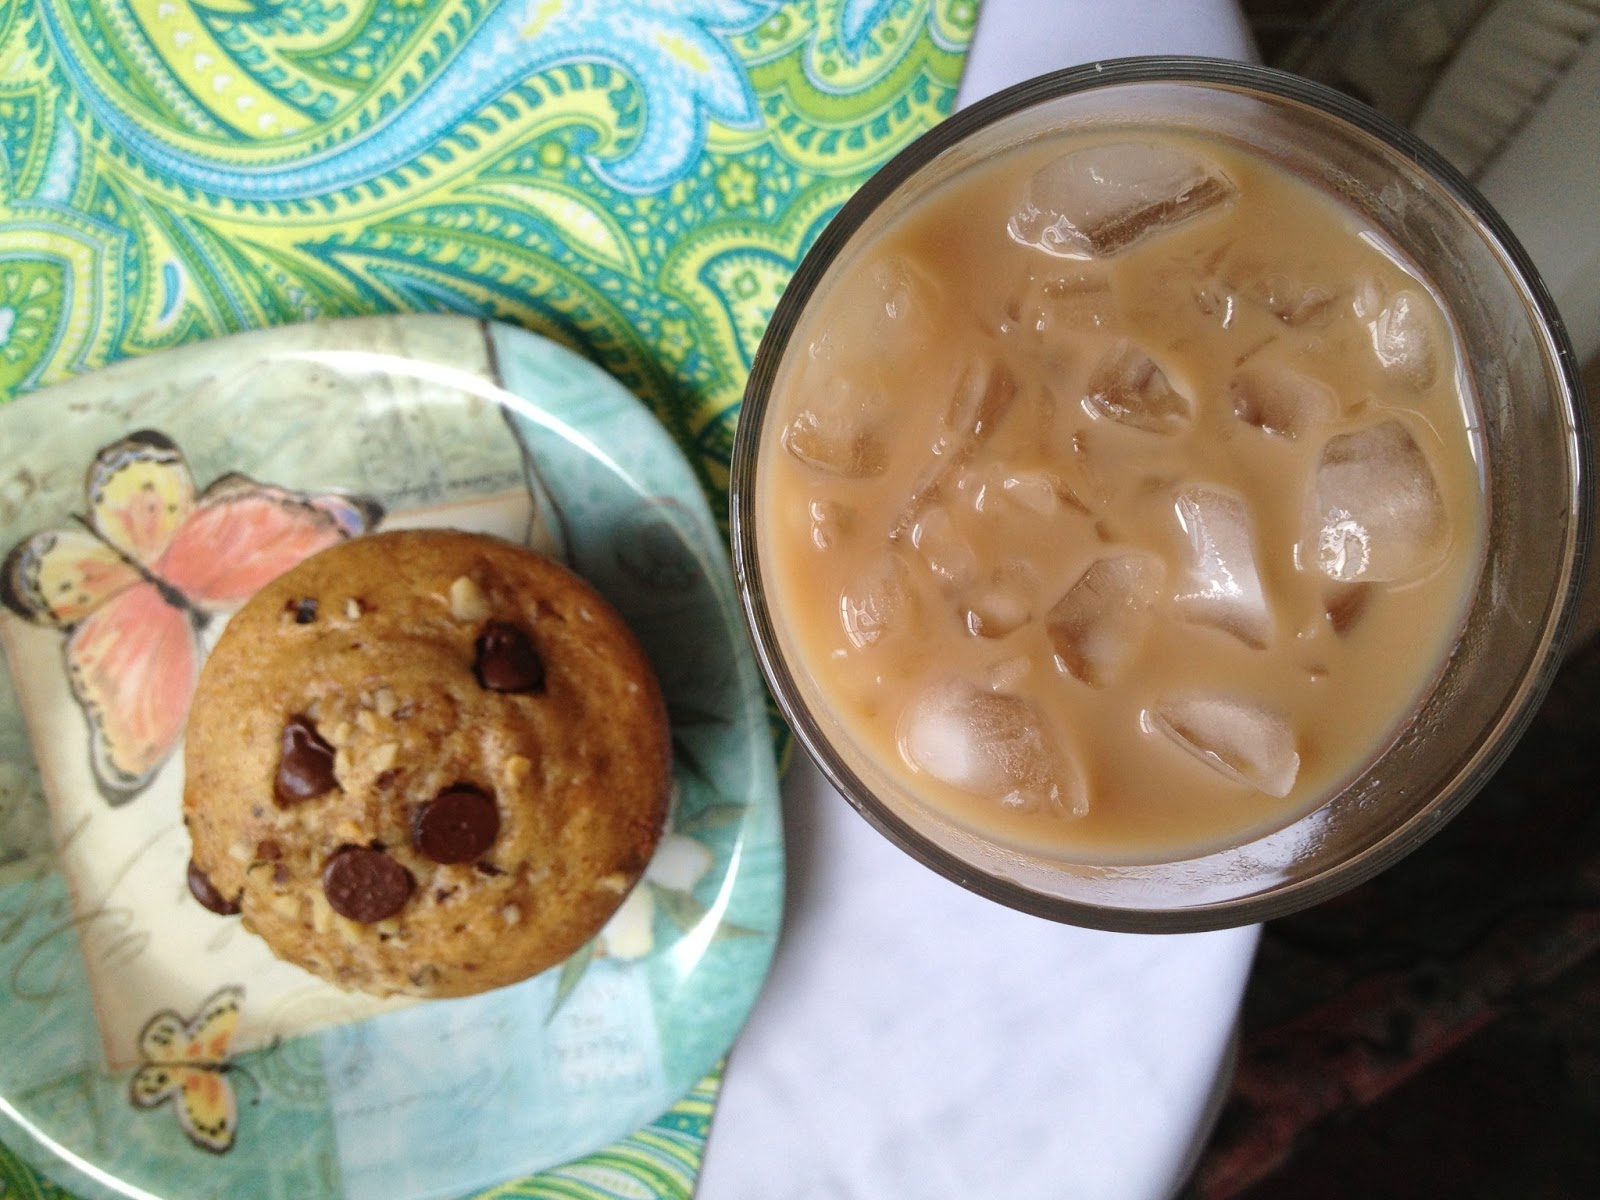
They are equally good without chocolate chips, but in my opinion, the chocolate chips send them over the AMAZING top.  :)  I also top dress the unbaked muffin with chopped walnuts and a few more choc. chips.
I just had one, right from the oven, with a tall glass of iced coffee.  Summer bliss!


V E R Y moist.  Even 3-4 days after you bake them.

I gave some to our neighbor friends, and they all enjoyed them to the max!  These can be a nice gift for neighbors, families who need encouragement, new moms, friends at Christmas, etc.
And a BIG thank you to Debbie for sharing her recipe in our church cookbook many years ago and for introducing me to these wonderful treats from your family!

Enjoy!

Blessings,
Donna

Monday, July 8, 2013

A Semi-Homemade Toddler Photo Book

I have been so blessed by God!  Not only do I have 2 adult children with wonderful spouses plus a teenage son still at home, but I have TWO grandbabies who are just 7 weeks apart in age!  And not only do I have two close in age, but I have a Grand BOY and a Grand GIRL!  The best of both worlds!  Carson and Eloise are my joy and delight.


Since I love to make things for them, I had a ball making a cute photo book for them featuring my little dog Gracie.  They like to see Gracie when I FaceTime with them, so I knew she'd make an interesting book for them to read.  I'm always looking for ways to build my and my husband's relationship with them even though we live 6 hours apart and only see them about every 2-3 months.

I purchased a $1 board book at the Dollar Tree as the base for my book.  I had photos printed to go in the book and in order to fit more photos in this little 6" square book, I used Walmart's collage prints to put two photos on a 4x6 print and then cut them apart.  I also used some full 4x6 inch prints for a few special photos.

I cut out cardstock pages to fit over the board books pages, using a pattern I traced on cardstock of the page.  Then I laid out the photos on the pages in an order that fit a little story I could tell about Mimi's Puppy, Gracie.
I glued the pages to the book, and the photos to the page, adding some typed up story balloons to fit with each page.  Stickers added a few more cute details to each page.

You know how the first time you make something, you learn alot and find things you'd do differently?  Well, so was the case with this book.  I Mod Podged the front and back cover to make it toddler-proof.  I tried to Mod Podge the inner pages too but the paper began to bubble.  I think it might have helped to attach the pages to the book with Mod Podge first rather than with spray adhesive.  Then maybe the Mod Podge over the top of the pages/pictures would not have bubbled the paper.  I will try that next time.  I also tried Clear Contact Paper, and it wasn't ideal either.  Let me know if you figure out the perfect solution before I do!
 

For Carson's book I made the back cover be a picture of his Mama (our daughter) with Gracie the Dog.  For Eloise's book, which is in process, I will put a picture of her Daddy (our son) with Gracie.  Fun to personalize the books this way.


I love these GRANDDARLINGS so much!  Carson is full of curiousity, noise, busyness, and sugar.  Eloise is sweet, gentle, talkative, and so sugary.  Our tradition is that each time I get to be with both babies at once, we get a picture of me holding them together.  It's getting harder, as you can see!  :)  
Thank you for stopping by!  I would love to hear about it if you try this idea too.  I've thought of some fun photo books ideas for the future...one about all the family members, one of nature pictures that I take where they have to look and find things in the photo, one for holidays, etc.  So many ideas...so little time!
Blessings,
Donna


Linked To:
Lady Bug Blessings
Show Me What Ya Got
Home Stories A-Z
Crafty Girl Linky Party
Tater Tots and Jello
Sew Many Ways
Made By You Monday
Inspiration Monday Linky Party
07 08 09 10
Pin It button on image hover