Tuesday, August 23, 2011

Smitten with a Drawer

About a month ago while shopping with a dear friend at a favorite flea market, I spied something unique and dear.  It was a little wooden antique drawer.  Just about 15 inches in depth and about 4 inches wide.  It had rounded corners and a sweet old fashioned crystal knob.  I loved it.  But I couldn't justify buying it b/c I didn't know where I'd put it.


That little drawer has not left my memory, and just recently I could visualize it on my coffee table in the great room.  Tonight while running an errand near this flea market I decided to stop and see if it was still there.


It WAS!!  I was such a happy camper!!  And that little $10 treasure came home with me.  Happy, happy sigh.


I think it will be sooooo fun to use in decorating for each season.  I can visualize pretty linens spilling out of it, according to the season, as well as plants, candles, antique gloves and books, etc.


I used Old English furniture polish on her when we got home, then took about 5 minutes to gather some linens and kitchen items to put in her.  


And here she is!  She will grow and blossom and bloom as I have more time to find the perfect little belongings to fill her space.  And I would LOVE to hear your ideas about what you would put in her.


Do you think she is from the 1940s?  Have you seen antique drawers 'out there' in the decorating world?  I rather think she is happy to be in use again.  The star of my show, in fact.  What do you think?


Thank you so much for stopping by!

Blessings!

Friday, August 19, 2011

DIY Binders

Long before I started blogging, bookmarking, or Pinteresting, I've had a love affair with magazines.  The beautiful photos, fresh new ideas, recipes, trip reviews, information, etc...they are tremendous eye and brain candy for me.  But what to do with the ideas from magazines that I want to keep?

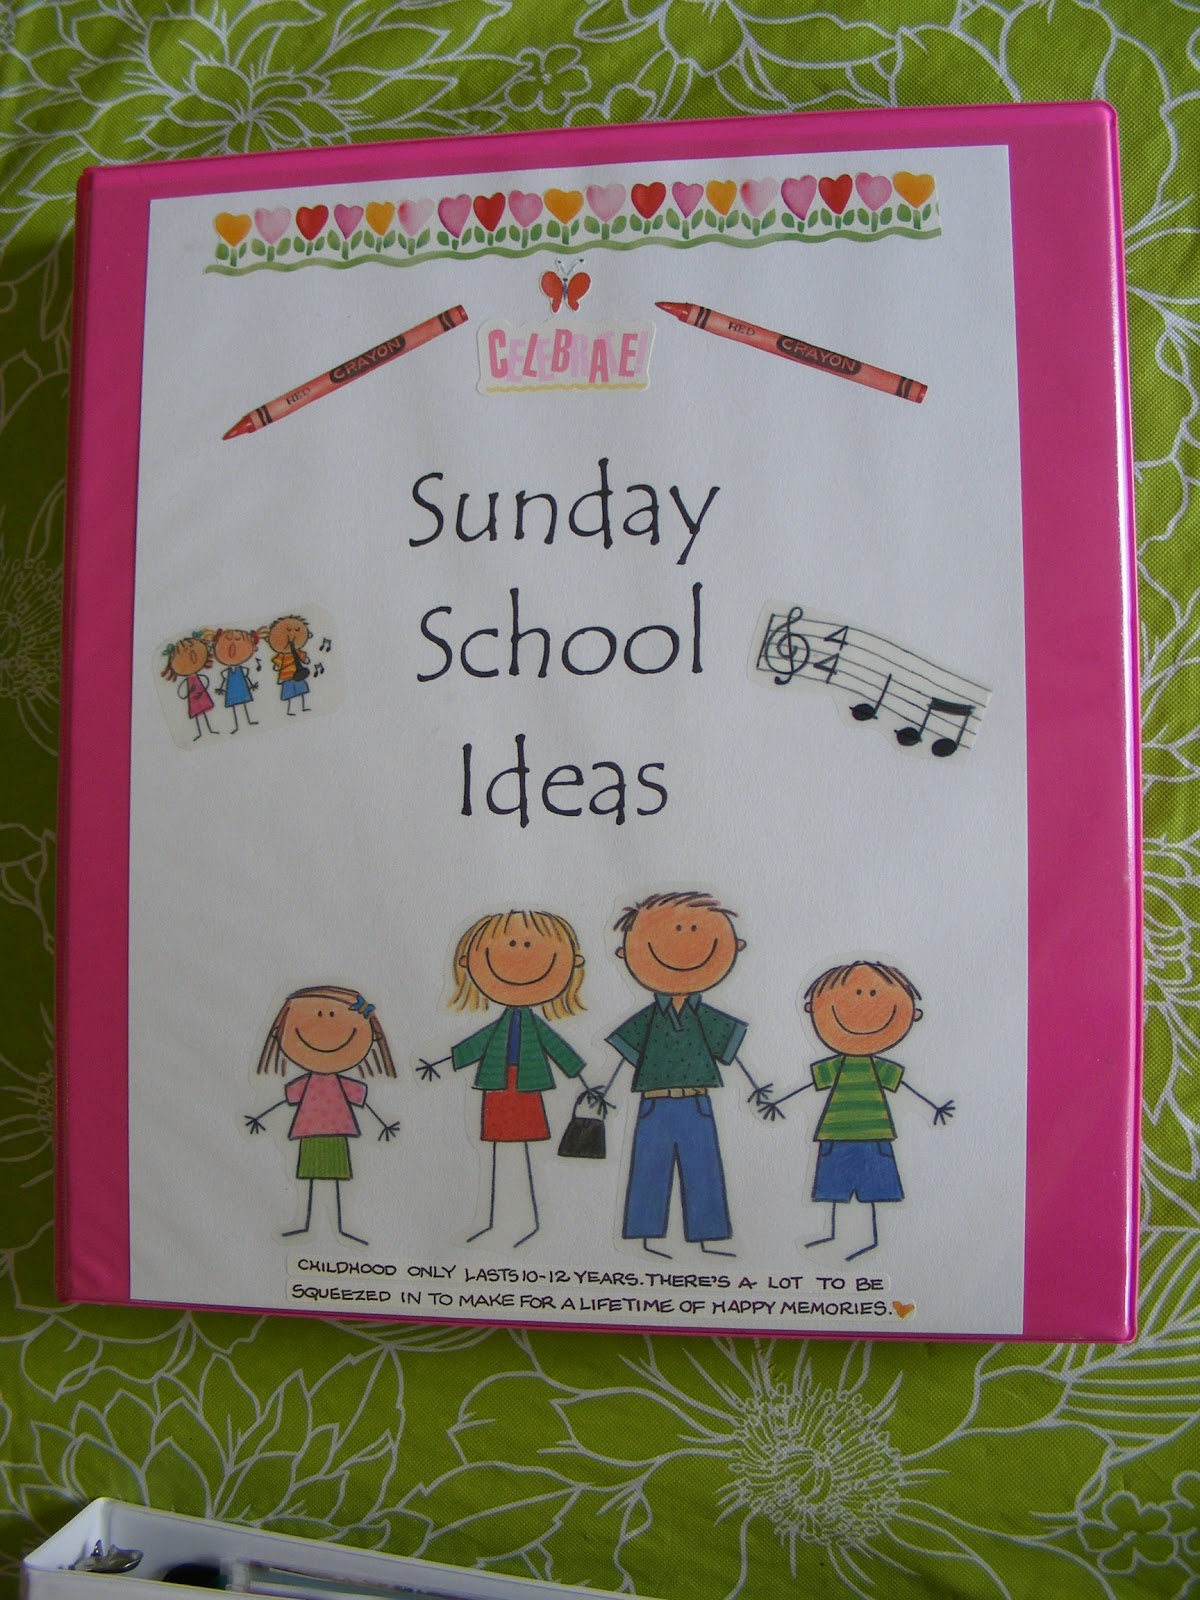
Enter DIY binders.  I gathered some 3 ring binders that had clear pockets on the front.  Create a fun title page to slip into that front pocket, and then fill it with dividers and clear plastic page protectors.  Ready to go!  I love to find a quote for the front of each binder that makes me smile and gives a hint of what is inside.

Over time I have made a variety of binders, including one for  Decorating Ideas and Teaching Children.

This recipe binder was my first!  Isn't that quote so cute and true?

After making and loving the ease of using the recipe binder, I made one for general Ideas.  I love that quote too!  This binder has sections for party ideas, things to make, good-to-know articles, etc.

For this post I will take you on a tour of two of my binders, and will do the others in a subsequent post.  I started the recipe binder with breakfast items and appetizers.

I am inspired by recipes with photos, which works out perfectly for a binder.  I made that chopped holiday salad for a bridal luncheon a few years ago.  So pretty and good.

This section is for main meals.  I can stick in 3x5 card size recipes or whole page ones.  Things from magazines or printed from the internet.  I never fail to be inspired in cooking when I get down my binder and go through all the ideas that have looked good enough to make it into my binder!

This is from my Ideas Binder.  As I was helping plan our daughter's wedding, I began seeing the benefit of collecting photos and ideas of decorations, menus, and centerpiece for all kinds of parties.

I have articles showing how to fold napkins prettily, to how to make DIY votive candles, to how pretty it can look to just put hosta leaves in a white pitcher for a centerpiece.

There is the all-important To Make section in my Ideas Binder.  Anything that I think I might want to make in the future, I tear out of a magazine and put in this section.

It's also a great place to keep those little DIY instructions I bring home from JoAnn Fabrics!

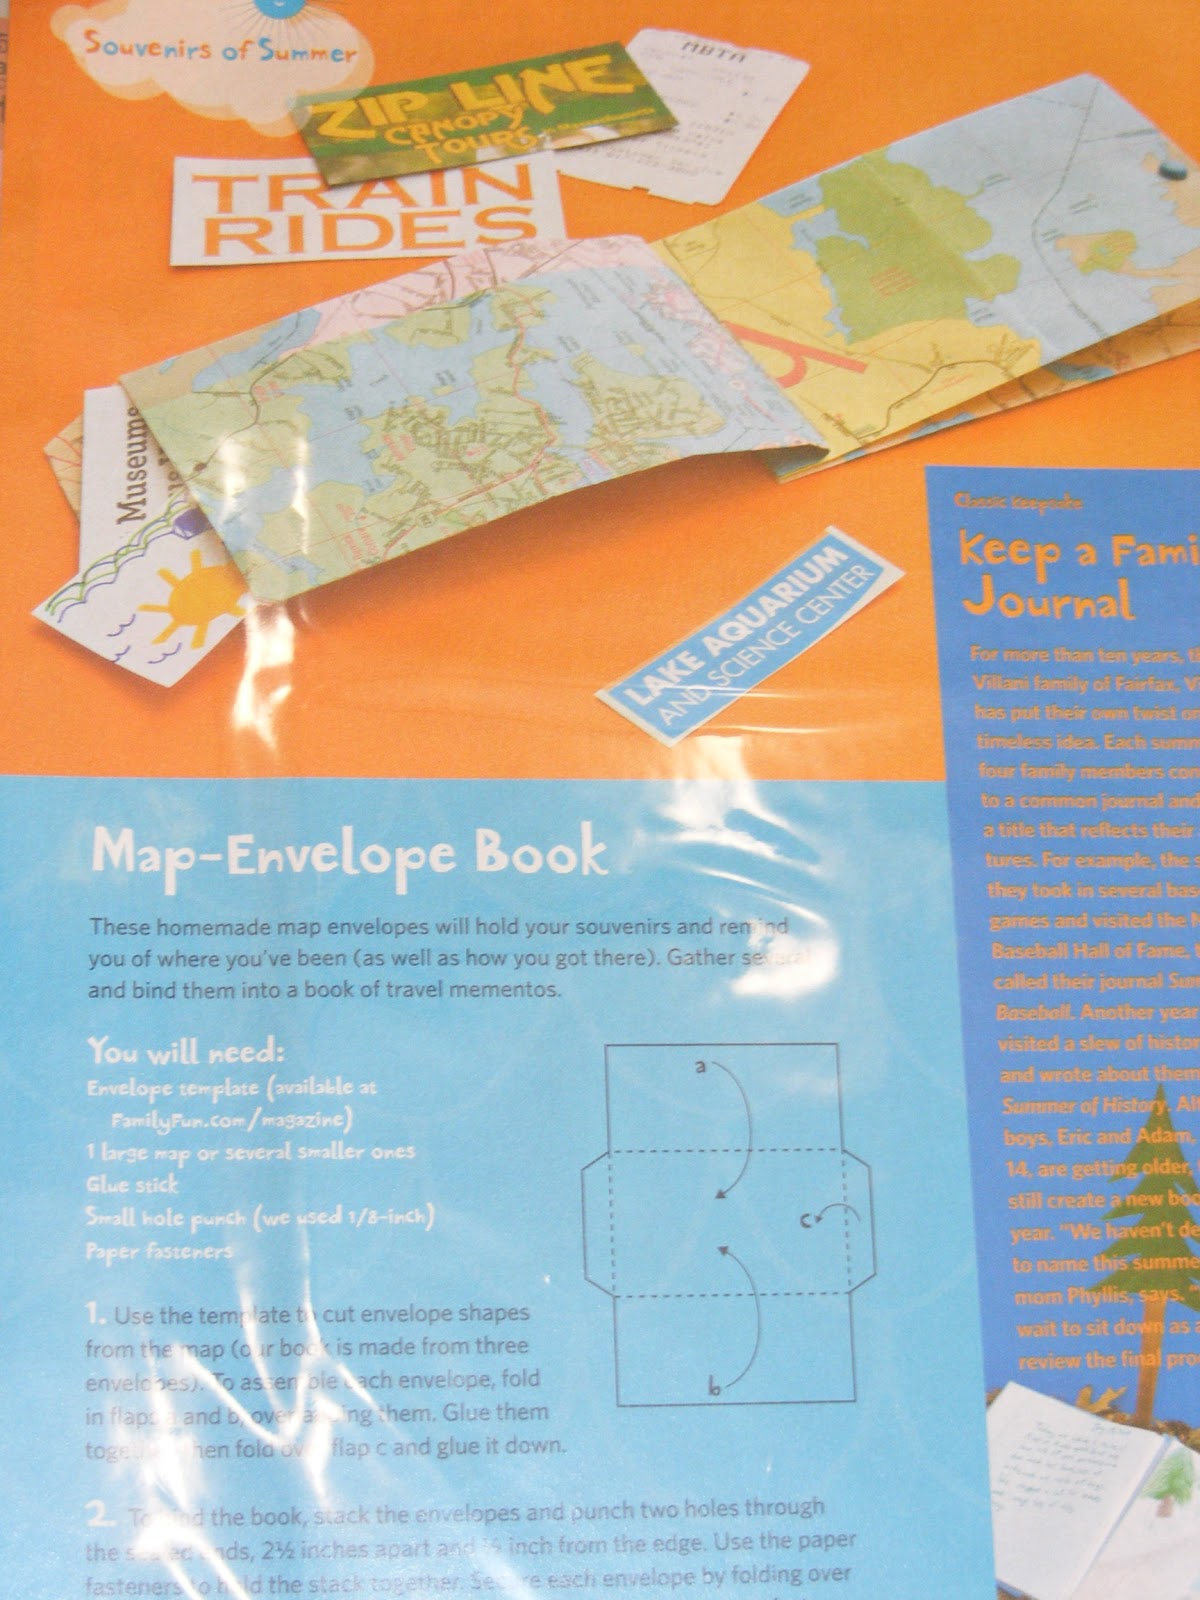
This article inspired me to actually make a Travel Binder and use parts of an old map for decorating it.  See that post here.

The last section in my Ideas Binder is for good ideas that are rather miscellaneous in nature...such as helping aging parents with their finances, or

Keeping a cute haircut possibility  on file.  I have articles in this section on fun games to play with a big group, the warning signs for when your aging parents should stop driving, and what foods to eat in order to stock up on certain nutrients.  

The DIY Binder has been a great help and benefit to me.  Now I can read my magazines, pull out the ideas I might want to try, and then pass on the magazine to someone else before it hits the recycle bin.  And my ideas and recipes have an automatic home to go to, rather than be stacked in the kitchen or bedroom.

Visit again soon for Part 2 of DIY Binders.
Have a wonderful day!

Blessings!
Donna
Linked To:
My Romantic Home
Just a Girl
Sunday Showcase
Sundae Scoop
Made By You Mondays
Tip Junkie
Blue Cricket Design
Tatertots and Jello

Sunday, August 14, 2011

Free Wax Paper Anyone?

My Mom taught me to save the wax paper bag in the empty cereal box.  So I do!  And it really makes a great bag to use for alot of kitchen work such as for crushing cracker crumbs, pounding chicken, or breading okra for frying.  But most of all I like to use it to cover food with in the microwave.  So here is how to make it quick and easy and ready to use.

The above photo just shows where I cut the bag so I'd have four squares of wax paper ready to use.

Wipe the cereal dust off with a damp dish cloth, let dry, and you have four free little sheets of wax paper that will save you money and will be good to the earth, too!

Thanks Mom for teaching me to recycle and reuse things before it was cool to do so!

Blessings!
Donna

Thursday, August 11, 2011

The Vintage Mama

You all know and love The Pioneer Woman, well known blogger, author, cook, and now TV hostess.  Well I've about decided my name should be The Vintage Mama.  :)  I love vintage things from the 30s, 40s, and 50s.  I think I was supposed to be born in the 40s...but of course I'd need ac and internet.  Ha!
We've lived in our new home in Southern Indiana for over a year now, and suddenly this empty wall in the great room has started to bug me.  I haven't known what to do with it, until recently when I saw a cute vintage shelf on a blog, with vintage pretties on it. I knew that was what this wall needed.

Enter this little neglected vintage shelf that I recently purchased at a thrift store for $1.  Now that's my price, girls!

She was dirty and scratched, but otherwise in decent shape.


Just a few coats of Rustoleum Heirloom White spray paint, and she was ready to be 'dressed' and put to use!  Woohoo!  I love quick projects.

So I hung her, added some vintage photos, jello molds, salt and pepper shakers, etc.  I also got out my beloved Norman Rockwell plates from storage.  They are titled Young Man With a Dream and Young Woman With a Dream.  So sweet.

I knew it needed some kind of little bunting underneath.  This piece of raffia was just the perfect size!  And I had just recently  received some of these vintage family photos from our moms.  The tiny wooden clothespins have been in my craft closet for months...the perfect finishing touch!


Awww, that's my little brother on the left, born in 1964.  So cute.  He is spending today, his 47th b-day, in heaven with Jesus.

The other infant pictures are of me, then there is my mother in law with my husband and his sister in the 1960s.  The other one is of me with a new Christmas doll in about 1968.

This is a photo of me at about age 4 in Texas.  Did any of you ladies in your 40s ever have your photo made on a pony that a photographer brought around the neighborhood?  This was common in Dallas, where we lived!

Newly purchased little Jello molds, from an antique store in Ks. City.

My Grandaddy in his early 20s...back in about 1940.

Precious little find recently at my favorite flea market.


And my wall is complete!!  I find it warm and inviting.  I'm sure the shelf will grow and change in time as I find other perfect little vintage pretties to live here.  But I plan to keep it fairly simple, changing out things rather than adding more.  For $3 (paint and the shelf) I was able to decorate with things I found in my own home.  I love how God is so creative, and He made us to be creative too.  Thank you Lord!!

Would love to hear your thoughts!

Blessings!
Donna


Linky Parties:
Somewhat Simple
My Romantic Home
Sunday Showcase
Funky Junk Interiors
Tip Junkie
Sew Much Ado

Wednesday, August 3, 2011

Vintage Bunting Expanding!

Oh boy, oh boy!  I had such fun making the next Artist Trading Card for my Vintage Bunting.  If you would like to see the first post where I started my Vintage Bunting, please click HERE.  The one on the right is today's creation.  I will keep on creating cards now and again until I fill the bunting ribbon.

Today's card was inspired by a beautiful idea I saw on Pinterest.  Making a cupcake design out of buttons!

I used some vintage inspired printed cardstock for the base of it.  Then cut out the 'C' page from the glossary of a vintage children's book and used it for the mat.  Fun!  I cut out a cupcake liner from the other side of the watermelon paper (base) and sewed some lines into it.  (Note to self...next time, pull the threads through to the underside before knotting and cutting them off so they won't easily unravel.)

I adhered all of these paper parts together then played with the buttons until I got a combination of size and color that I liked.  So fun to 'top' it off with a little flower button, like a cherry on top!  Just used tacky glue to put these on the paper.  Lastly I decided that my 'title' for this page would be the letter 'C' which is just a sticker on a pink circle, adhered with a foam dot.

Thank you for stopping by and for your sweet comments!  Each one is like getting a letter in mail...exciting!

Blessings!

Sunday, July 31, 2011

A Little Vintage Bunting

All Summer I have had the goal of making a little vintage bunting for some room of my house.  With just three weeks left before we start homeschooling, I am happy to have begun!

I am making individual Artist Trading Cards for the bunting, and will continue adding to it until it is full.  I have two completed so far!  An Artist Trading Card is like a miniature scrapbook page that can be traded with others, for a unique art collection.

A classic ATC is normally about 2.5 by 3.5 inches.  I am making mine a bit larger at 3"x 4" so that I can use the vintage illustrations I have for it.  This illustration came from a vintage children's book I purchased for $1 at a thrift store.

Yes, it hurts to cut up a book, but I will so enjoy seeing these illustrations on a daily basis on my wall!
This is the page I chose to use first.  This little girl reminds me of myself in the 60s when I had a little metal dollhouse and plastic people and furniture for it.  I absolutely loved setting up the house and dreaming of having my own home some day!

This shows the size of the piece I cut from the book.

Next I looked for cardstock in the right colors, so that I could make my ATC base and mat the pic.

I went through my craft stash and found some embellishments that would go nicely on the card.

And this is the finished product! 
Today I made another one, using some beautiful vintage paper that my dear friend brought me from the scrapbook store where she works.  And since the line of paper is called October Afternoon, a name I find charming and enchanting, I even added it to my card.  Baking a pie on an October afternoon would be bliss.  :) The little circle of the girl is attached with a foam square so it pops out from the page, and I made the October Afternoon 3D as well.

And so this is the beginning of my little vintage bunting!  It is temporarily hung on my kitchen wall, until I decide the perfect place for it to live.  :)

I am loving it. 

To be continued!  

Blessings,
Donna 
Late Breaking News:  I've made another card...an adorable button cupcake card.  Click here to see it!  
Linky Parties:
Under the Table and Dreaming 
Tip Junkie 
Nothing But Country 
Skip to My Lou 
Organize and Decorate Everything 
Gluesticks
07 08 09 10
Pin It button on image hover