Tuesday, August 20, 2013

The Little Drawer That Could

I love old drawers.  I have an old sewing table drawer that is one of my favorite pieces in my house.  And recently this old drawer came home with me from Trader Bakers Flea Market for just $3.  I thought it just needed a good clean up.

Well, this IS the cleaned up version!  Haha!  The dirt will not come off.  I could paint it, and I still may.  But for today, this shabby little girl is being embraced for who she is.  :)  See the bits of red chippy paint underneath on the drawer pull?  I wonder if that was her original color.  Wouldn't she be cute with a red drawer pull?!


After she had been cleaned inside and out with warm soapy water on a rag, I decided to have her adorn my one corner in my kitchen that is reserved for decor.  Underneath I placed a beautiful kitchen tea towel I got on clearance at Marshalls.  Anytime you find a pretty tea towel on clearance, grab it!  They make excellent fabric pieces for decorating.

Here is is for you to see...it has aqua details...aqua makes everything more beautiful.
Now to build a pretty vignette inside the drawer.  I started with this plate picturing an old church.  A bit of sticky tac putty at the base helps it to stand up steady in the back of the drawer.


Next I needed some fabric  inside the drawer to add some softness.  This green and white gingham napkin was perfect.  I also like to buy pretty fabric napkins on clearance to use in decorating.  I added a little tidbit stand that I made from a china plate and a glass candleholder.  And placed 4 antique kitchen items  on top of it...cookie cutters, a juicer, and spices.  That box of cloves was in my Grandma's kitchen when she died.  Treasure.

Anther piece that would add more height, the glass cupcake stand with a birds' nest inside was next, as well as a ceramic tile painted with chalkboard paint.  And lastly, my sweet antique egg beater.  The Shabby Little Miss is looking good!

Notice a change here?  I settled on using my 1950s North Star plate in the back, rather than the church plate.  It is taller and has the added bonus of aqua stars on it.

And then the crowning touch.  I've had this little vinyl wall saying set aside for several years.  Loved it but couldn't decide where to put it.  Seeing it in my friend Tammy's kitchen recently, in a similiar place, I decided THIS is where it belongs.  This little corner is my bit of quiet and pretty peace in my hardworking kitchen.  I know it will remind me many times a day to Be Still and Know God.  Just reading it brings my spirit to a quieter place.


And I am done.  For now.  :)  I've always had decor in this corner, but I really love that now it is all contained in a drawer.  Looks neater.  Less cluttered.  And I'll have such fun changing out the contents of the drawer display with each season.  
What do you think?  Want to keep your eyes open for a cute old drawer?  I am even toying with painting the drawer pull aqua.  My Kitchen Aid Mixer is aqua too.  #favoritecolor

Thank you so much for stopping by.  Your comments are so appreciated!  And I hope you'll be back soon.

Blessings!
<Donna @>

Tuesday, July 23, 2013

Amazing, Moist Chocolate Chip Bran Muffins


Long ago when I had given birth to one our babies, a sweet friend brought us dinner.  And part of the dinner was a tin full of Grandma Larson's Bran Muffins.  They were from a recipe in her husband's family and they were moist, delicious, and tender.
They have become my favorite muffin recipe!  And since I made some this week, I thought I'd share this treat with you.  I have made some adjustments to the recipe to fit the ingredients I have on hand and to add a bit of chocolate to them.  So here we go!


The adjustments I made to the recipe are listed below:

1 1/4 c. boiling water
3 c. raisin bran flakes
1/2 c. cooking oil
1 c. sugar
2 beaten eggs
2 c. buttermilk (from a carton or homemade sour milk or buttermilk made with dry mix)
2 1/2 c. flour
3 tsp. soda
1/2 t. salt
1/2 cup chocolate chips stirred up with a teaspoon of flour so they won't sink to the bottom of the muffin.

Go ahead and follow the original directions while making the above substitutes if you wish.  I don't buy All Bran cereal, so that's why I just use bran flake cereal or raisin bran cereal.  I increased the boiling water since I add it to the whole 3 cups of raisin bran.  And please know that this recipe is very forgiving...if your batter is alittle thinner than you think it should be (mine was this past time) just add some more bran flakes to it.  Works just fine.

The recipe makes about 24 muffins.  I like to bake them right in the tin without liners but then when I give them to friends or family I sometimes place the finished muffin in a liner for a nicer presentation.  As the recipe says, you can bake a batch, then keep the rest of the batter in the fridge for up to 6 weeks.  Brilliant!!

They are equally good without chocolate chips, but in my opinion, the chocolate chips send them over the AMAZING top.  :)  I also top dress the unbaked muffin with chopped walnuts and a few more choc. chips.
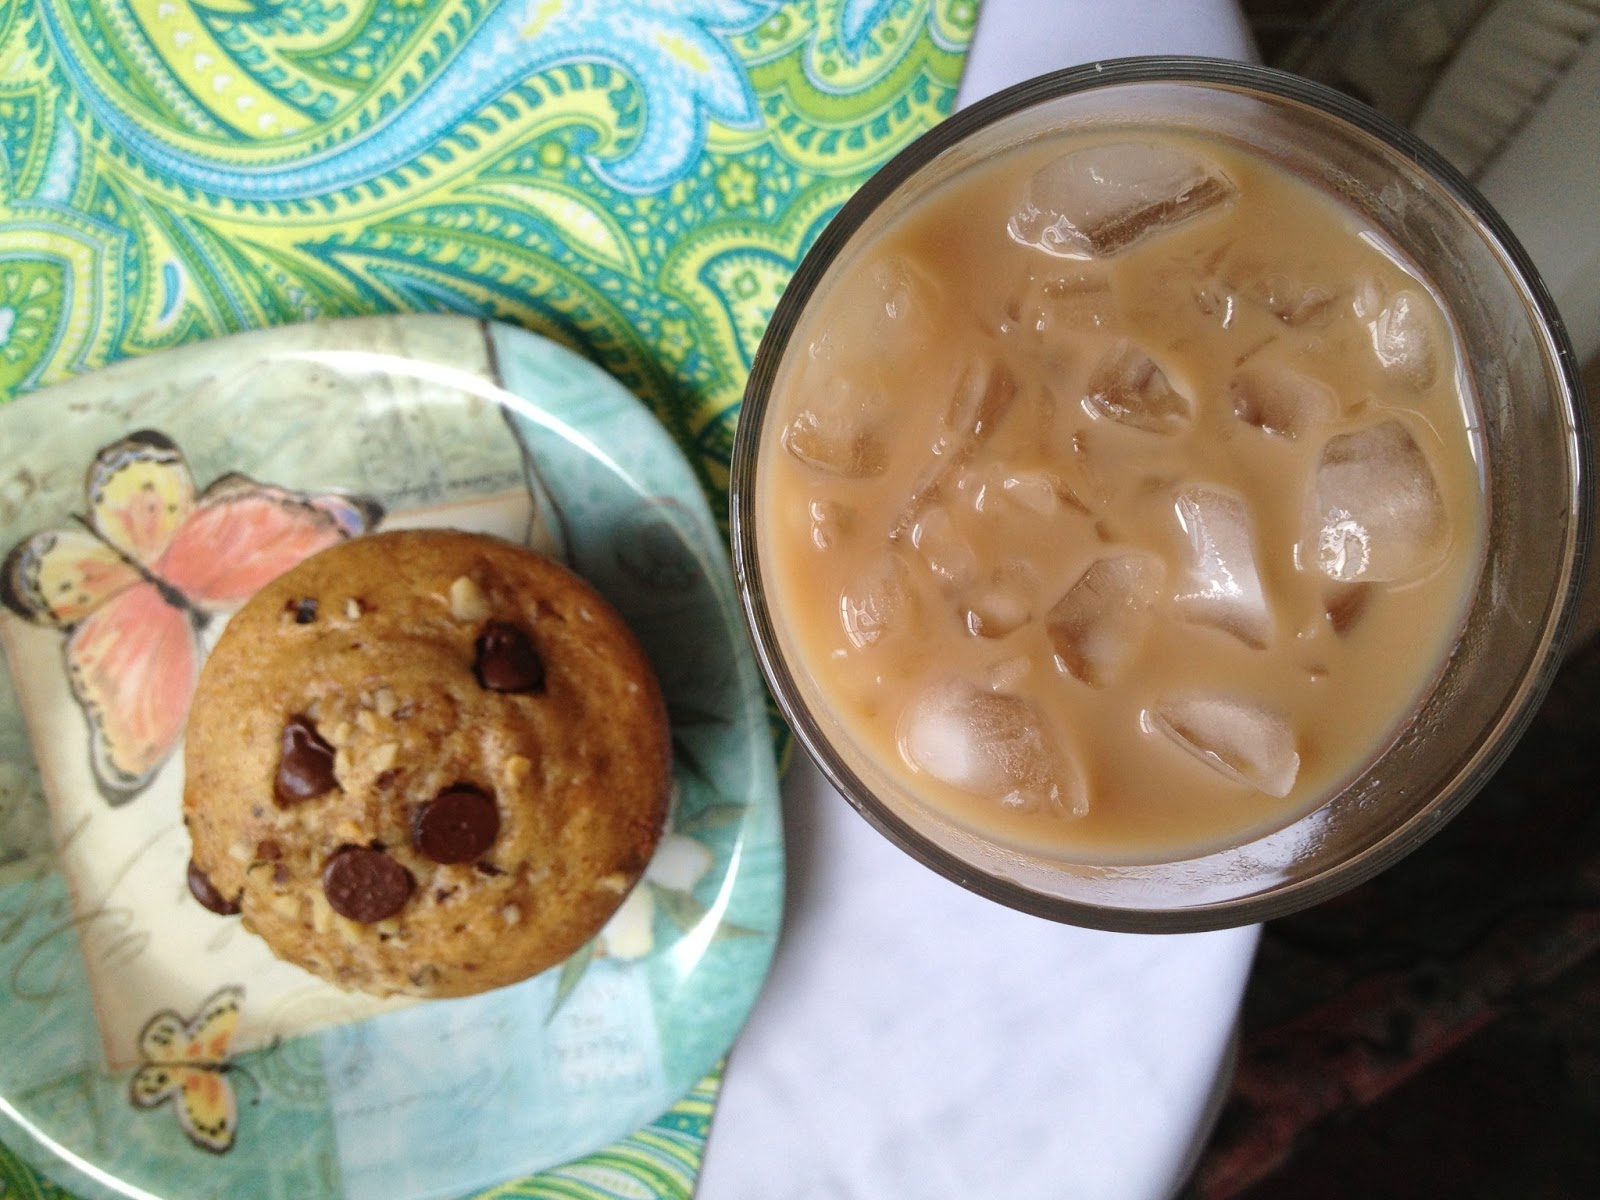
I just had one, right from the oven, with a tall glass of iced coffee.  Summer bliss!


V E R Y moist.  Even 3-4 days after you bake them.

I gave some to our neighbor friends, and they all enjoyed them to the max!  These can be a nice gift for neighbors, families who need encouragement, new moms, friends at Christmas, etc.
And a BIG thank you to Debbie for sharing her recipe in our church cookbook many years ago and for introducing me to these wonderful treats from your family!

Enjoy!

Blessings,
Donna

Monday, July 8, 2013

A Semi-Homemade Toddler Photo Book

I have been so blessed by God!  Not only do I have 2 adult children with wonderful spouses plus a teenage son still at home, but I have TWO grandbabies who are just 7 weeks apart in age!  And not only do I have two close in age, but I have a Grand BOY and a Grand GIRL!  The best of both worlds!  Carson and Eloise are my joy and delight.


Since I love to make things for them, I had a ball making a cute photo book for them featuring my little dog Gracie.  They like to see Gracie when I FaceTime with them, so I knew she'd make an interesting book for them to read.  I'm always looking for ways to build my and my husband's relationship with them even though we live 6 hours apart and only see them about every 2-3 months.

I purchased a $1 board book at the Dollar Tree as the base for my book.  I had photos printed to go in the book and in order to fit more photos in this little 6" square book, I used Walmart's collage prints to put two photos on a 4x6 print and then cut them apart.  I also used some full 4x6 inch prints for a few special photos.

I cut out cardstock pages to fit over the board books pages, using a pattern I traced on cardstock of the page.  Then I laid out the photos on the pages in an order that fit a little story I could tell about Mimi's Puppy, Gracie.
I glued the pages to the book, and the photos to the page, adding some typed up story balloons to fit with each page.  Stickers added a few more cute details to each page.

You know how the first time you make something, you learn alot and find things you'd do differently?  Well, so was the case with this book.  I Mod Podged the front and back cover to make it toddler-proof.  I tried to Mod Podge the inner pages too but the paper began to bubble.  I think it might have helped to attach the pages to the book with Mod Podge first rather than with spray adhesive.  Then maybe the Mod Podge over the top of the pages/pictures would not have bubbled the paper.  I will try that next time.  I also tried Clear Contact Paper, and it wasn't ideal either.  Let me know if you figure out the perfect solution before I do!
 

For Carson's book I made the back cover be a picture of his Mama (our daughter) with Gracie the Dog.  For Eloise's book, which is in process, I will put a picture of her Daddy (our son) with Gracie.  Fun to personalize the books this way.


I love these GRANDDARLINGS so much!  Carson is full of curiousity, noise, busyness, and sugar.  Eloise is sweet, gentle, talkative, and so sugary.  Our tradition is that each time I get to be with both babies at once, we get a picture of me holding them together.  It's getting harder, as you can see!  :)  
Thank you for stopping by!  I would love to hear about it if you try this idea too.  I've thought of some fun photo books ideas for the future...one about all the family members, one of nature pictures that I take where they have to look and find things in the photo, one for holidays, etc.  So many ideas...so little time!
Blessings,
Donna


Linked To:
Lady Bug Blessings
Show Me What Ya Got
Home Stories A-Z
Crafty Girl Linky Party
Tater Tots and Jello
Sew Many Ways
Made By You Monday
Inspiration Monday Linky Party

Friday, June 7, 2013

My One Yard Wonder


Two Christmases ago, I received this cute idea book as a gift.  It was something I'd never looked at but it sounded fun and full of promise, so I had it on my Christmas wish list!  Shamefully, it took me 1.5 years to really use it!  Just today I  MADE something from it!  And it was so cool to have the patterns included, ready to cut out and put to use.  So, introducing, my One Yard Wonder!


I think they call this Granny's Clothespin Apron.  It's the greatest idea!  A cute little apron which has a large pocket across the front that is made to hold your clothespins while you hang things on the line.  Brilliant!

I adore hanging sheets, towels, PJs, and blankets on the line to dry.  They come in smelling like fresh air and sunshine, and the towels are so much more absorbant than when machine dried.  My clothespin bag usually ends up blowing off the line and landing in a spot of mud, so this apron will be just what I need.
The patterns were easy to cut out and use.  The instructions were mostly clear, and it went together easily.  Such a fun project!  It probably took me 3 hours, but I'll be faster with the next one I make.

The clothespins settle right into the large front pocket or can clip to the pocket edge.  

Isn't the fabric cute?

Since my fabric had a pattern to it, I situated the front of the apron right over this sweet little girl that is outside enjoying being a kid.


The ties are sturdy and are about 30 inches long.

And here I am modeling it.  I made this one for my Etsy shop, Perfect Darlings, but definitely plan to make one for ME!  No more flying clothespin bag!  Yippee!!  And as I take things off the line, it will be so easy to put the pins in my pocket, rather than keep the bag on the line within my reach.

This apron would also work for kitchen and house work.  Pockets for your iPhone, iPod, kleenex, lip balm, or whatever.  Maybe I need two!

Thank you for stopping by!


Blessings,

Donna

Linked To:
Tater Tots and Jello
Your Home Based Mom
A Pretty Life in the Suburbs
The Sunday Showcase Party

Sunday, May 5, 2013

Chocolate Surprise Cake


Who doesn't LOVE chocolate cake? And cheesecake too?! Surprise Cake has a bit of both! So easy to make...here's how: Stir up a chocolate cake from any mix, following the package directions.


In a separate bowl, cream together: 8 oz. cream cheese, softened (I used low fat,) 1/2 cup sugar, and 1 egg. 


Fill greased cake pans with 2/3 of the cake batter (I used 2 round ones to make 2 one layer cakes...a nice way to have one cake for home, and one to share with a friend). Spoon the cream cheese mixture over the batter in a random way, for a pretty pattern. Then spoon the remainder of the cake batter over the cheese filling. Bake at 350 til the top springs back when poked and a toothpick inserted near the middle comes out clean.


After a bit of cooling and removing from cake pan onto a pretty plate, serve slightly warm with a shake of powdered sugar over the cake and plate. Also great with a dollop of whipped cream. Must refrigerate remaining cake.


This cake was so easy, makes a pretty presentation, and is so so good. Very moist and not sickeningly sweet. Simply delicious! Enjoy.


Blessings!

Donna

Saturday, April 27, 2013

I'm Published!

Last Fall I got an email from a lady from the new magazine, Sew It...Today, asking if I'd like to be featured in their magazine with my Travel Toothbrush/Toothpaste Roll from my Etsy shop Perfect Darlings.  She had found my project on Etsy.  I was stunned!  I was unbelieving!  So I googled the magazine name and found it to be the real deal.  Such a fun thing.  A blessing! After several communications with such nice editors, I made the 2 colors of travel rolls they wanted, and mailed them.  Just this last week, the magazine featuring my item was released.

Such beautiful, colorful photography that they did.  And they even sent the two travel rolls back to me, along with a little stipend.  What a fun and positive experience this was.  :)  I would recommend the magazine, too.  Only $3.99 per issue and has cute, quick projects for every seamstress and ability out there.Sew It...Today!

Blessings,
Donna

Linked To:
Sweet Little Gals

Sunday, April 21, 2013

Vintage Book Page Buntings and Table Runners


In finishing the series on how to use Vintage Book Pages for decor, I'll focus on the little buntings I made and the table runners.  So inexpensive and so fun...I think these two elements were among my favorites at our son's wedding rehearsal dinner.


I made three different kinds.  The one made of squares was easy.  I folded the papers to the width I wanted, and cut squares on the fold from book pages, black card stock, and hymn pages.  Put a bit of glue on the insides of the folded rectange, and then glue them with the black crochet thread sandwiched in the middle.  I spaced them out about every 3 inches.  Then when dry, use a small heart punch on the center of the folded paper.  (PS...it worked out GREAT to store them hanging over the top of our guest room door while I worked to get all six done.)

The pennant style bunting was made in the same way, altho the shapes cut were diamonds.  If you prefold your paper, then cut a long triangle shape on the fold, they will be nicely matched and easy to open, add a bit of glue, then glue them with the thread sandwiched in the middle.

Lastly I punched 1.5 inch circles out of book pages, cardstock, and hymn pages.  These I sewed together down the middle with my sewing machine.  So quick and easy.  I spaced them about 1/2 inch apart.

Please note that these buntings can tangle easily if you are transporting them someplace.  Wrap them around a piece of cardbord or a file folder, and they will stay tangle-free and flat until you are ready to use them.  Great way to store them after the party too.

Here is a view of how I layered them down the center of the table, on top of the paper table runner and plastic table runner.  (This photo was taken as I 'practiced' at home to see how it might all look for the dinner.)

Some of these adorable little buntings are now being used in my home!  :)

The book page table runners were made from old Ideals books.  The pages were the perfect width.  I used a craft knife to remove them from the books, used a paper edger to scallop the long sides of the page, and then zigzag sewed the short edge of every 2 pages together.  Because of the minute space between the sewed papers, they fold nicely into the size of one page, for storage and for transporting.

For the dinner I laid them end to end down the center of the table.  Only having every 2 pages sewn together allowed me the flexibility to put as many as needed down the table, since the tables were different lengths.  And the sewing gave the table runner, as a whole, more stability as a runner, than if all the pages had just been laid end to end without the sewing.

I've so enjoyed sharing these ideas with you.  Let me know if you make one of them!


Happy Crafting!

Donna
Linked To:
Sweet Little Gals
Made By You Monday


07 08 09 10
Pin It button on image hover