Showing posts with label aprons. Show all posts

Wednesday, April 23, 2014

DIY Apron Mother's Day Card


My mother's birthday was in early April, and as I flipped through one of my paper craft books, I found a darling idea for a card.
Putting my own twist on it, I created a little handmade apron for the front of her card, pictured above, and she was delighted with it.  So were my friends.  :)  And so began my journey in making variations of these cards for sale to friends and in my Etsy shop.  However, I won't keep all the fun to myself...so here is a DIY tutorial in case you want to make your own.  :)
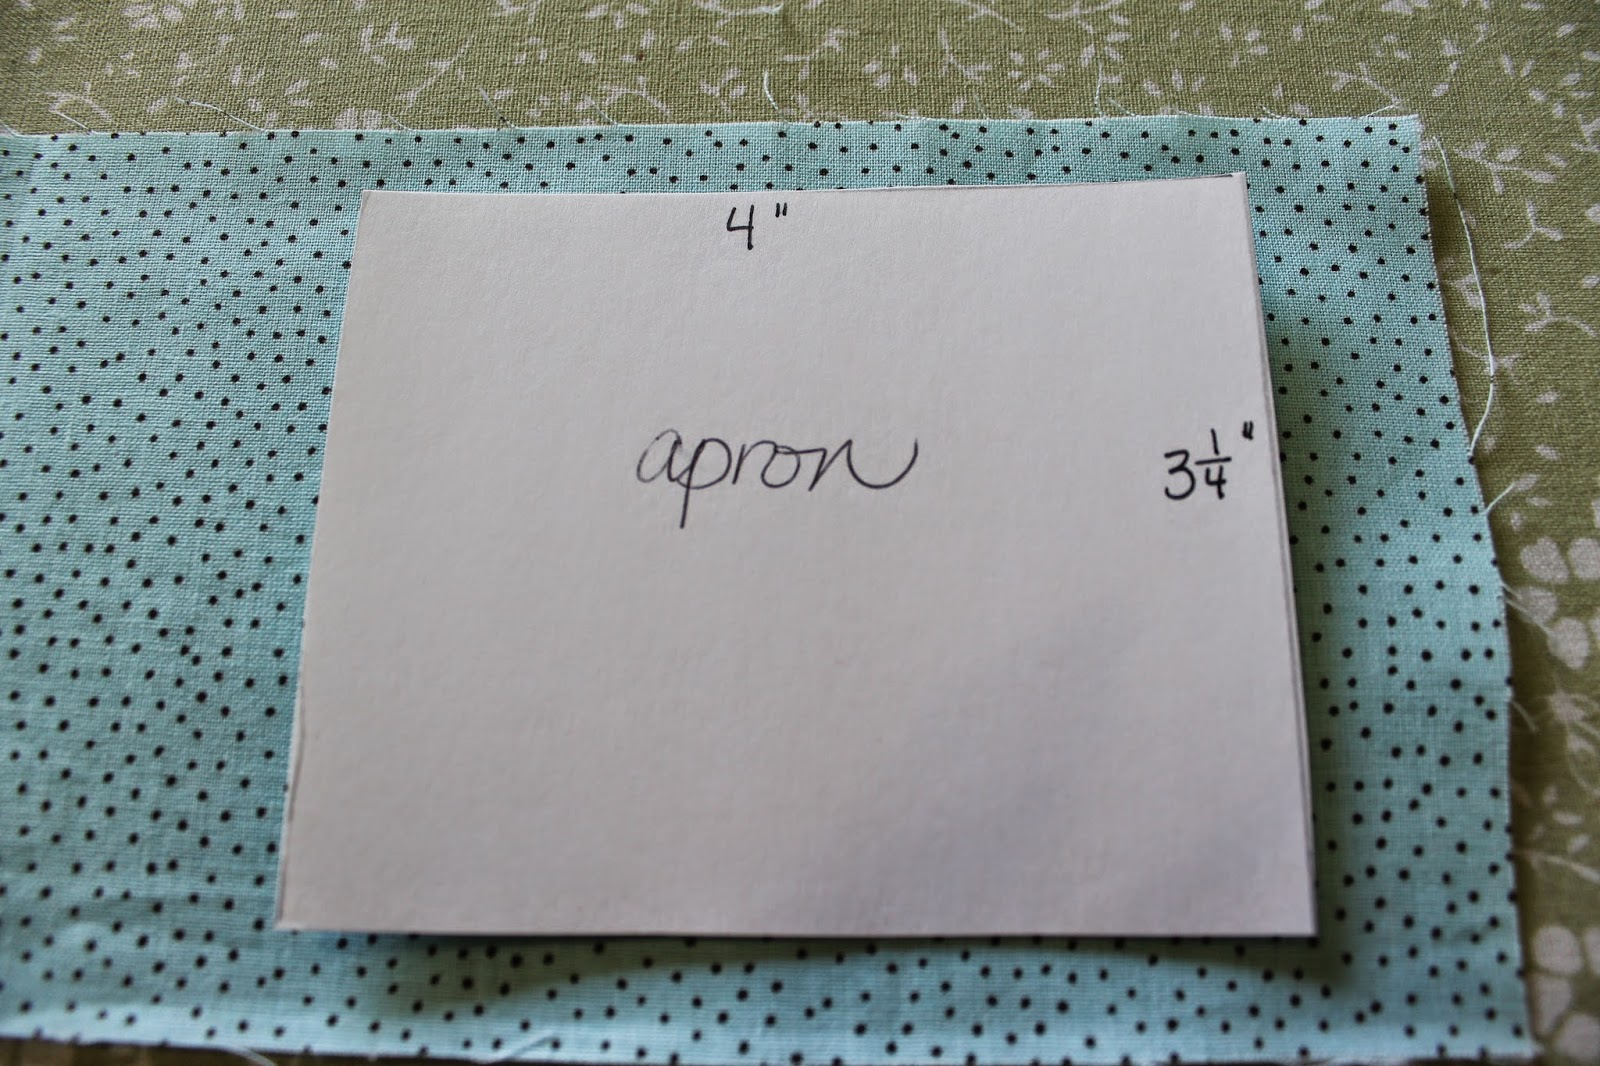
Make a little cardstock pattern for your apron...4" x 3 1/4" and cut out your fabric.

Iron a 1/4" hem on the two short sides and one long side.

Sew those 3 little ironed down hems.

Along the unhemmed long edge, sew a basting stitch about 1/4" from the edge, for gathering.  Leave long thread ends for pulling, as show.

Gently pull the basting thread on top of the right side, to gather.  And pull the basting thread underneath on the left side, to finish gathering.  If you pull the top threads on both side or the bottom threads on both sides, your thread will lock up and not gather.  Spread your gathers out evenly.

Next take a coordinating piece of ribbon, about 5" long (give or take) and either pin it or spot glue it to the top of your apron, covering the basting thread and the top edge of the fabric.  If either the top edge of the fabric or the basting shows after you stitch on your ribbon, you can trim them/remove the basting thread til it looks clean.  I like to use a zig zag stitch to attach the ribbon to the top of the apron, to create it's waist band.  The pinning or spot gluing just helps hold it in place while you sew.

Hope you can see the zig zag stitching which attached the ribbon to the apron's waist.

Next you want to adorn the hemline of the apron with rick rack or some decorative stitching.  I have fallen in love with the vintage look of the decorative stitching.  #13 is my favorite pattern for this.  

For best results, have your thread be a coordinating color that will show up well.  I sew that stitch about 1/4" from the hem stitching at the bottom of the apron.

Ta Daaa!  Doesn't it just make you want to get out your childhood Barbies and try it on her?!

Next, clip miniature clothespins to the top of your apron.  Prepare your card with a pretty cardstock mat on the front and use a glue gun to attach the clothespins to the card.  Angle your apron as seen in the finished photo.

Type out some different sayings to go on the front of your card, and print them.

I glued my sentiment to a pretty coordinating cardstock, then matted that with a piece of a vintage book page.  I attached it to the card with a foam block, to add dimension.

Are you in love yet?  Want to wear the apron yourself?

Add caption

Finish it off with a coordinating punched heart or flower attached to the back flap of the envelope.  Pretty.  Special.  One of a kind.

And you are finished!  If you do not sew or have time to make these, please visit my Etsy shop called Perfect Darlings to purchase one from me.  :)  Or make your own and have a great time!  As a courtesy, I would greatly appreciate it, however, if you would refrain from selling yours on Etsy...I'm sure you can appreciate that.  :)

Happy Mother's Day!
Your comments always brighten my day!


Be Blessed,
Donna

Linked to:
We Did It Wednesday


Friday, June 7, 2013

My One Yard Wonder


Two Christmases ago, I received this cute idea book as a gift.  It was something I'd never looked at but it sounded fun and full of promise, so I had it on my Christmas wish list!  Shamefully, it took me 1.5 years to really use it!  Just today I  MADE something from it!  And it was so cool to have the patterns included, ready to cut out and put to use.  So, introducing, my One Yard Wonder!


I think they call this Granny's Clothespin Apron.  It's the greatest idea!  A cute little apron which has a large pocket across the front that is made to hold your clothespins while you hang things on the line.  Brilliant!

I adore hanging sheets, towels, PJs, and blankets on the line to dry.  They come in smelling like fresh air and sunshine, and the towels are so much more absorbant than when machine dried.  My clothespin bag usually ends up blowing off the line and landing in a spot of mud, so this apron will be just what I need.
The patterns were easy to cut out and use.  The instructions were mostly clear, and it went together easily.  Such a fun project!  It probably took me 3 hours, but I'll be faster with the next one I make.

The clothespins settle right into the large front pocket or can clip to the pocket edge.  

Isn't the fabric cute?

Since my fabric had a pattern to it, I situated the front of the apron right over this sweet little girl that is outside enjoying being a kid.


The ties are sturdy and are about 30 inches long.

And here I am modeling it.  I made this one for my Etsy shop, Perfect Darlings, but definitely plan to make one for ME!  No more flying clothespin bag!  Yippee!!  And as I take things off the line, it will be so easy to put the pins in my pocket, rather than keep the bag on the line within my reach.

This apron would also work for kitchen and house work.  Pockets for your iPhone, iPod, kleenex, lip balm, or whatever.  Maybe I need two!

Thank you for stopping by!


Blessings,

Donna

Linked To:
Tater Tots and Jello
Your Home Based Mom
A Pretty Life in the Suburbs
The Sunday Showcase Party
07 08 09 10
Pin It button on image hover