Showing posts with label recipes. Show all posts

Tuesday, July 23, 2013

Amazing, Moist Chocolate Chip Bran Muffins


Long ago when I had given birth to one our babies, a sweet friend brought us dinner.  And part of the dinner was a tin full of Grandma Larson's Bran Muffins.  They were from a recipe in her husband's family and they were moist, delicious, and tender.
They have become my favorite muffin recipe!  And since I made some this week, I thought I'd share this treat with you.  I have made some adjustments to the recipe to fit the ingredients I have on hand and to add a bit of chocolate to them.  So here we go!


The adjustments I made to the recipe are listed below:

1 1/4 c. boiling water
3 c. raisin bran flakes
1/2 c. cooking oil
1 c. sugar
2 beaten eggs
2 c. buttermilk (from a carton or homemade sour milk or buttermilk made with dry mix)
2 1/2 c. flour
3 tsp. soda
1/2 t. salt
1/2 cup chocolate chips stirred up with a teaspoon of flour so they won't sink to the bottom of the muffin.

Go ahead and follow the original directions while making the above substitutes if you wish.  I don't buy All Bran cereal, so that's why I just use bran flake cereal or raisin bran cereal.  I increased the boiling water since I add it to the whole 3 cups of raisin bran.  And please know that this recipe is very forgiving...if your batter is alittle thinner than you think it should be (mine was this past time) just add some more bran flakes to it.  Works just fine.

The recipe makes about 24 muffins.  I like to bake them right in the tin without liners but then when I give them to friends or family I sometimes place the finished muffin in a liner for a nicer presentation.  As the recipe says, you can bake a batch, then keep the rest of the batter in the fridge for up to 6 weeks.  Brilliant!!

They are equally good without chocolate chips, but in my opinion, the chocolate chips send them over the AMAZING top.  :)  I also top dress the unbaked muffin with chopped walnuts and a few more choc. chips.
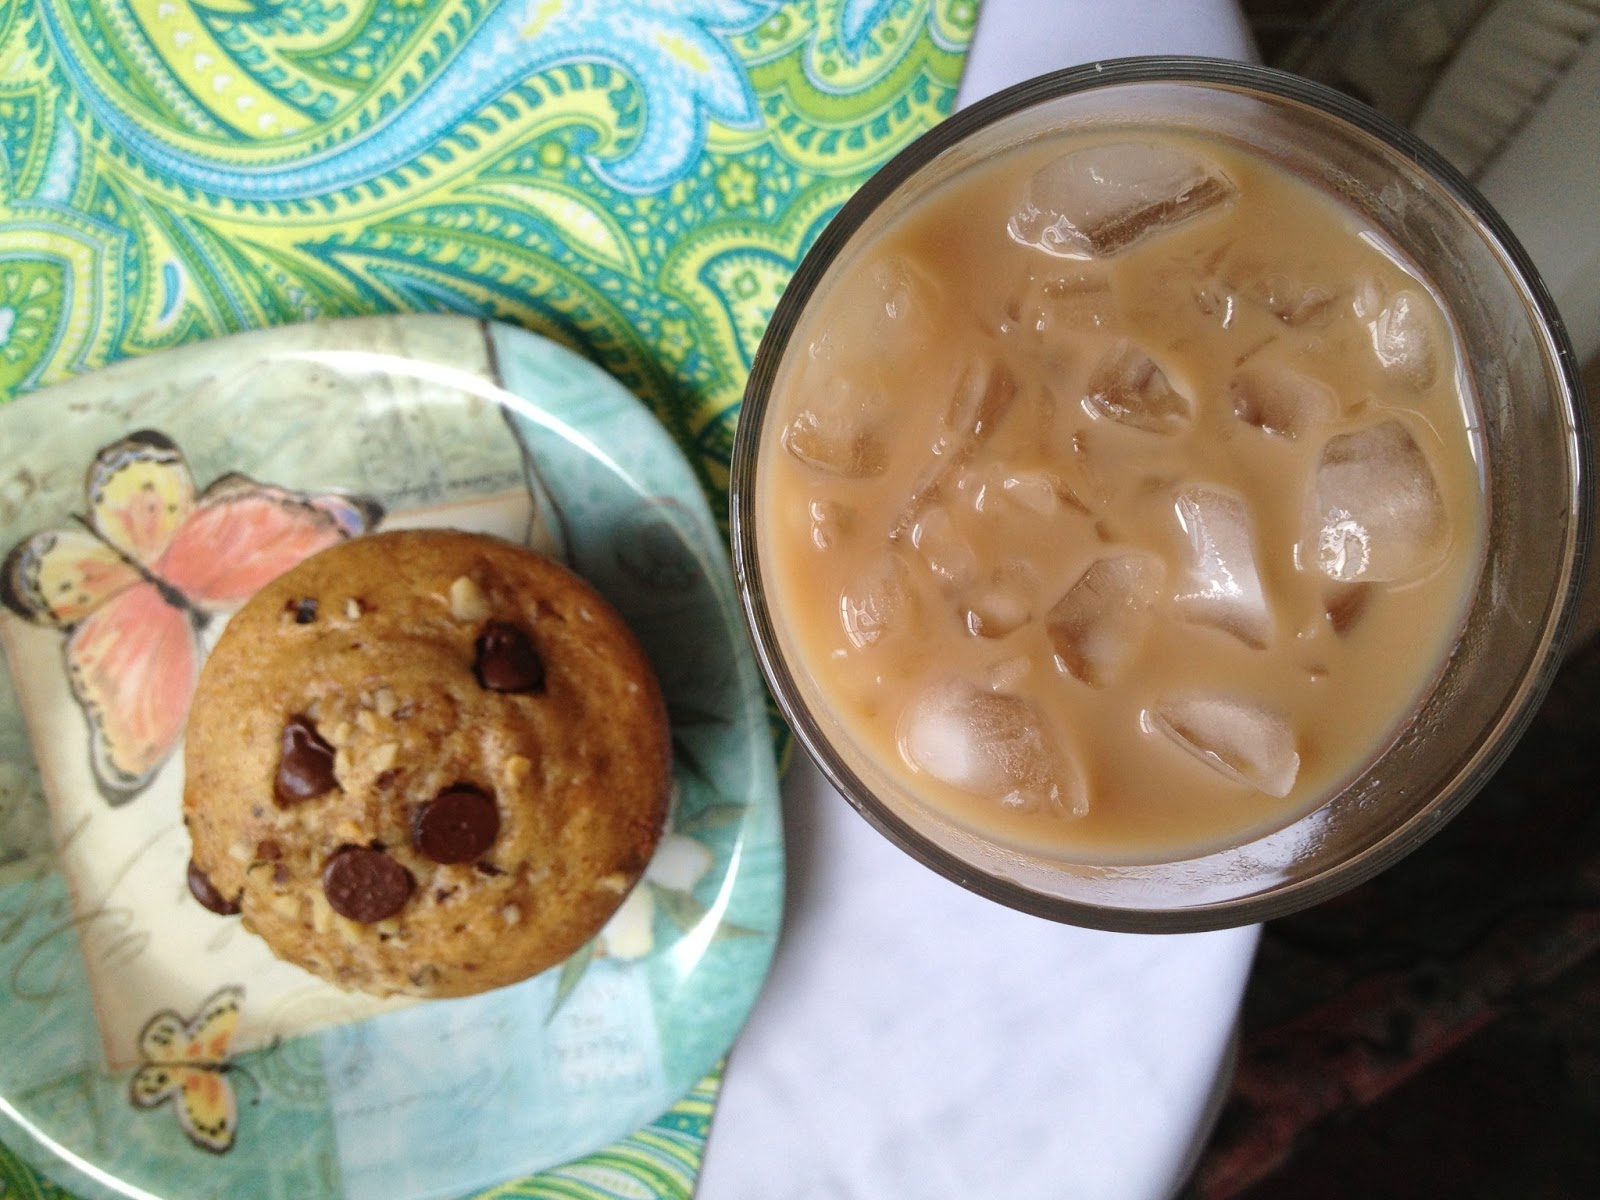
I just had one, right from the oven, with a tall glass of iced coffee.  Summer bliss!


V E R Y moist.  Even 3-4 days after you bake them.

I gave some to our neighbor friends, and they all enjoyed them to the max!  These can be a nice gift for neighbors, families who need encouragement, new moms, friends at Christmas, etc.
And a BIG thank you to Debbie for sharing her recipe in our church cookbook many years ago and for introducing me to these wonderful treats from your family!

Enjoy!

Blessings,
Donna

Friday, March 23, 2012

Woodland Theme Baby Meet and Greet

This happy little 10 week old boy is our first grandchild!
Introducing
Carson Davis, born to our beautiful daughter Lindsey and her husband Rich.  Carson and his family live 6 hours north of us, so it was a BIG deal when he got to come to Mimi and Papa's house for the first time last weekend.  To celebrate, we hosted a Meet and Greet so that our friends could meet this little love bug and help us celebrate his life!


Mimi (that's me!) had SUCH a fun time planning and preparing for the Meet and Greet.  I made this bunting of his name to hang in the great room.

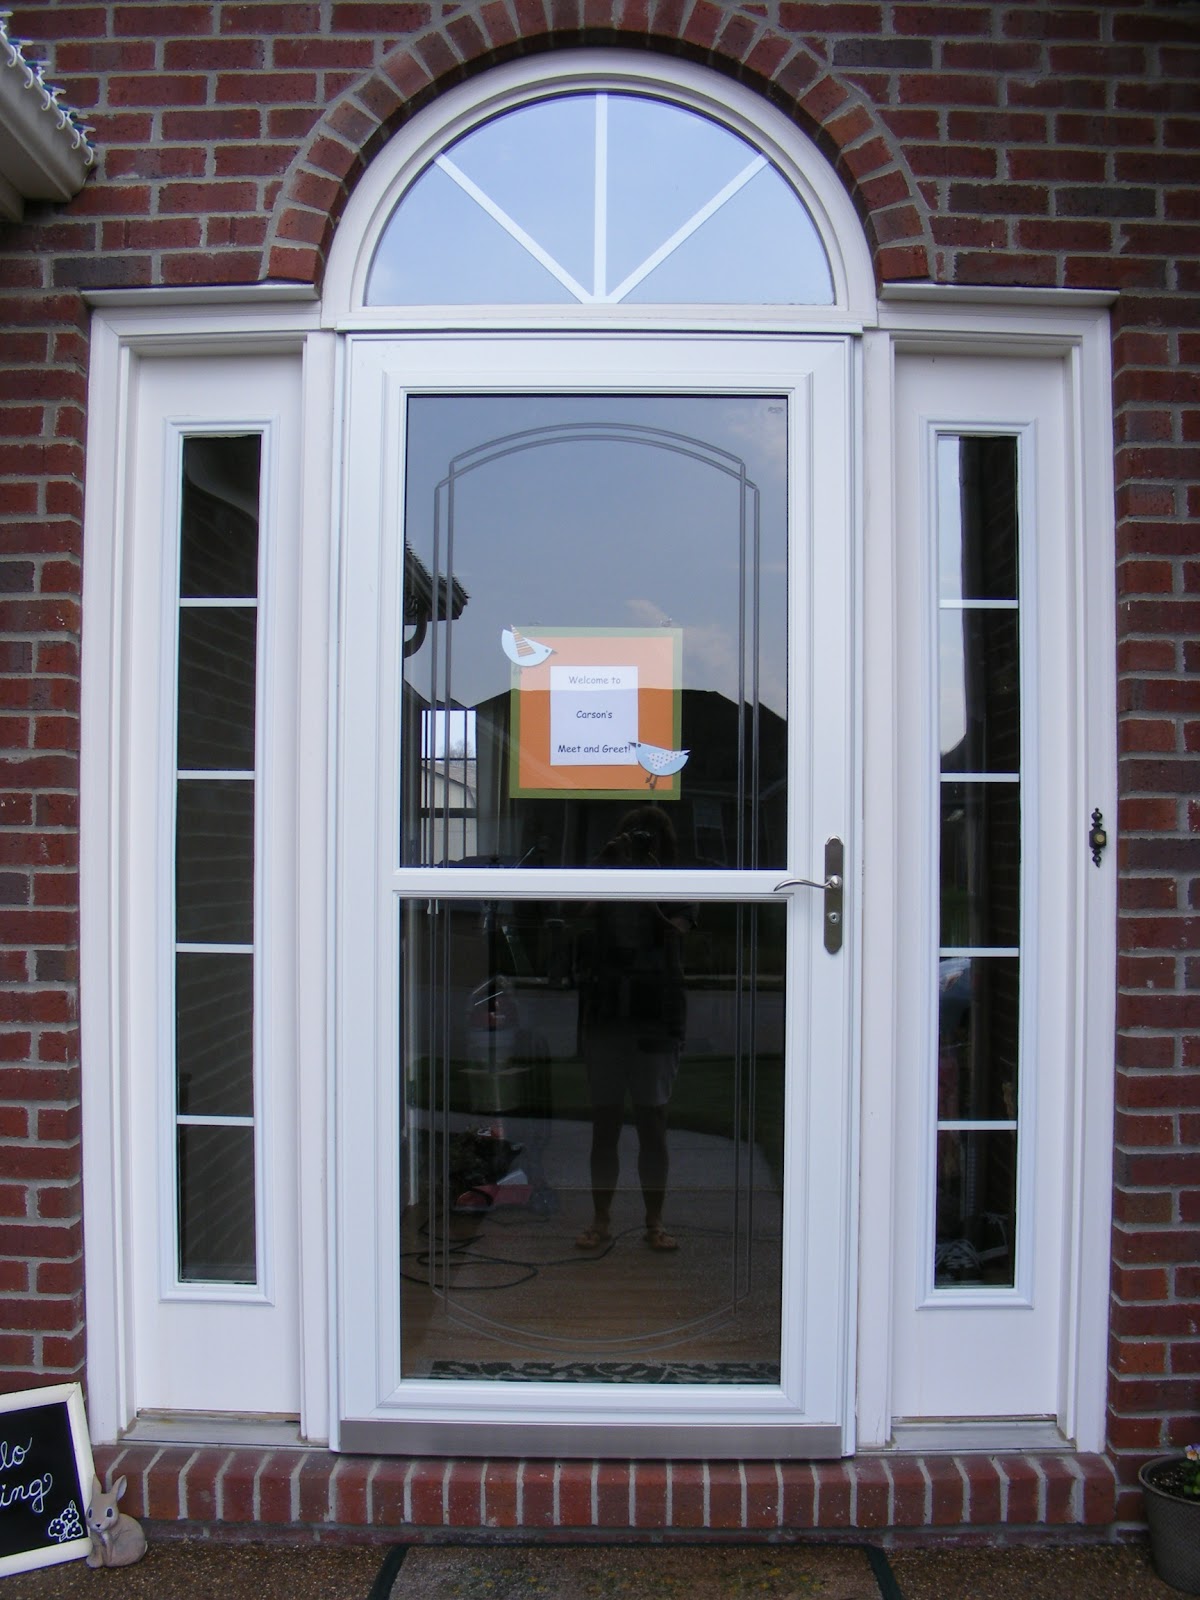
Pinterest taught me to make these adorable birds, which fit right in with the Forest Friends theme of this shower. This hung on the door to greet our guests.


I wanted to have a little party favor for each family to take home.  I planted these Snapdragon seeds 10 days in advance in little peat pods.  Happily they came up nicely and sat on a square of wax paper inside these cute cupcake liners.  

I had two plates of them on the entryway table, and made cute little scrapbook paper plant pokes to adorn each one.


Carson's nursery is an adorable Forest Friends theme, so I did the food and decor to go along with that.


Do you like the Cheese and Tomato Toadstools?  They are as tasty as they are cute!  Borrowed this idea from some of Lindsey's friends.


I found this idea online as well, altho I used a brownie mix instead of a chocolate cake mix.  And that way only the white part needed frosting, plus brownies are easier to eat by hand.

These Acorn Sweets were soooo cute!  And easy to make, altho a wee bit tedious.  You'll find the ingredients and instructions for them HERE.

I got brown vinyl tablecloths marked down at Walmart, and purchased .59 landscaping bricks to use as risers on the table.  Spanish moss added color and texture, and large slit marshmallows made great food label holders!

I wanted to have a mix of sweet, salty, healthy, and fun treats for the 1:30-3:30pm event.  Texas caviar was mildy spicy and quite healthy.  And boy was it a HIT!  I had requests for the recipe...do you want it too?  Come back in a few days and I'll post it.  I took a recipe from online and tweaked it a bit.

This Chocolate Chip Cheeseball/Spread was also very popular.  I served it with animal crackers and graham crackers.  You'll find the recipe for it HERE.

Grape tomato halves sitting atop an inch slice of mozzarella cheesestick.


The first guests to arrive were both sets of great grandparents, one of whom traveled 7 hours to be here!  This set happens to be my parents who live here in town.  They are enthralled with their first great grandchild!

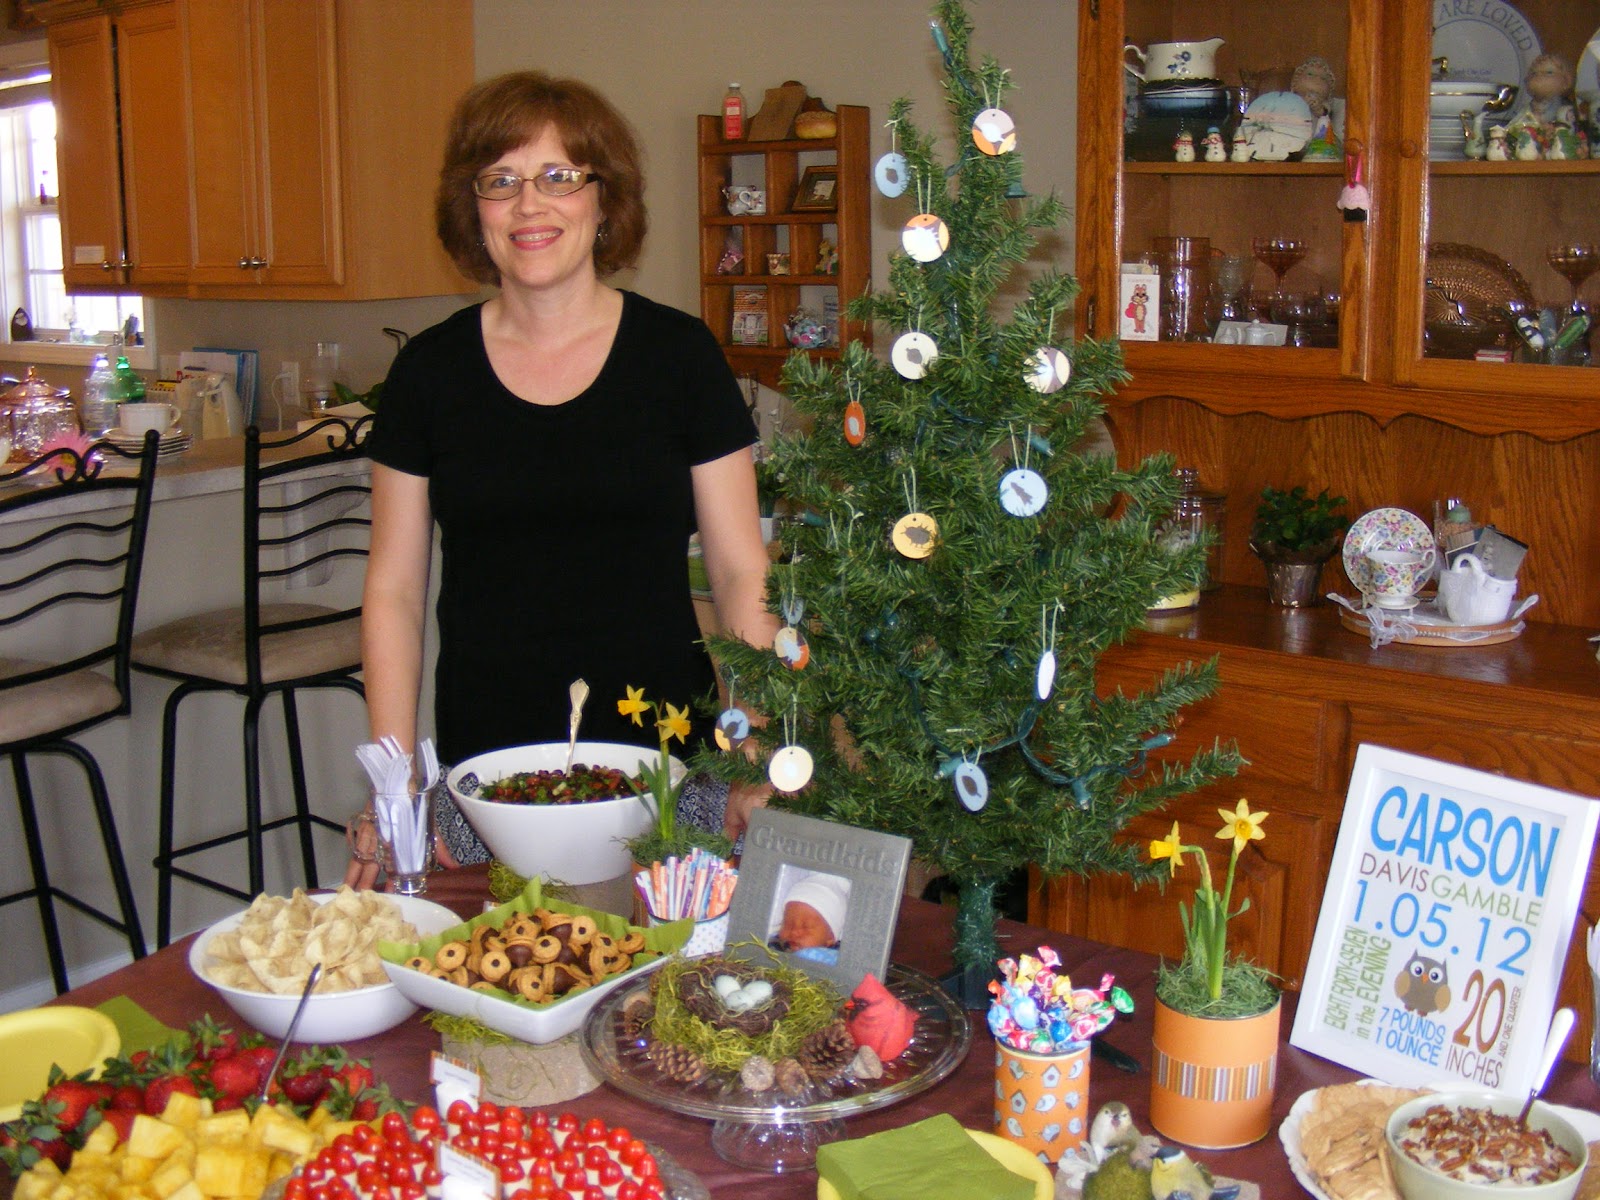
It's me!  Everything is set up and I'm ready to begin!  See the orange cans holding miniature daffodils?  They are peach cans that I washed and put scrapbook paper around.  Free!  The two candy cans are also just washed cans decorated with paper.

And here come our sweet friends!  We've only lived here in Southern Indiana for 23 months, but God has given us delightful neighbors and friends.

We ended up with about 35 of us!
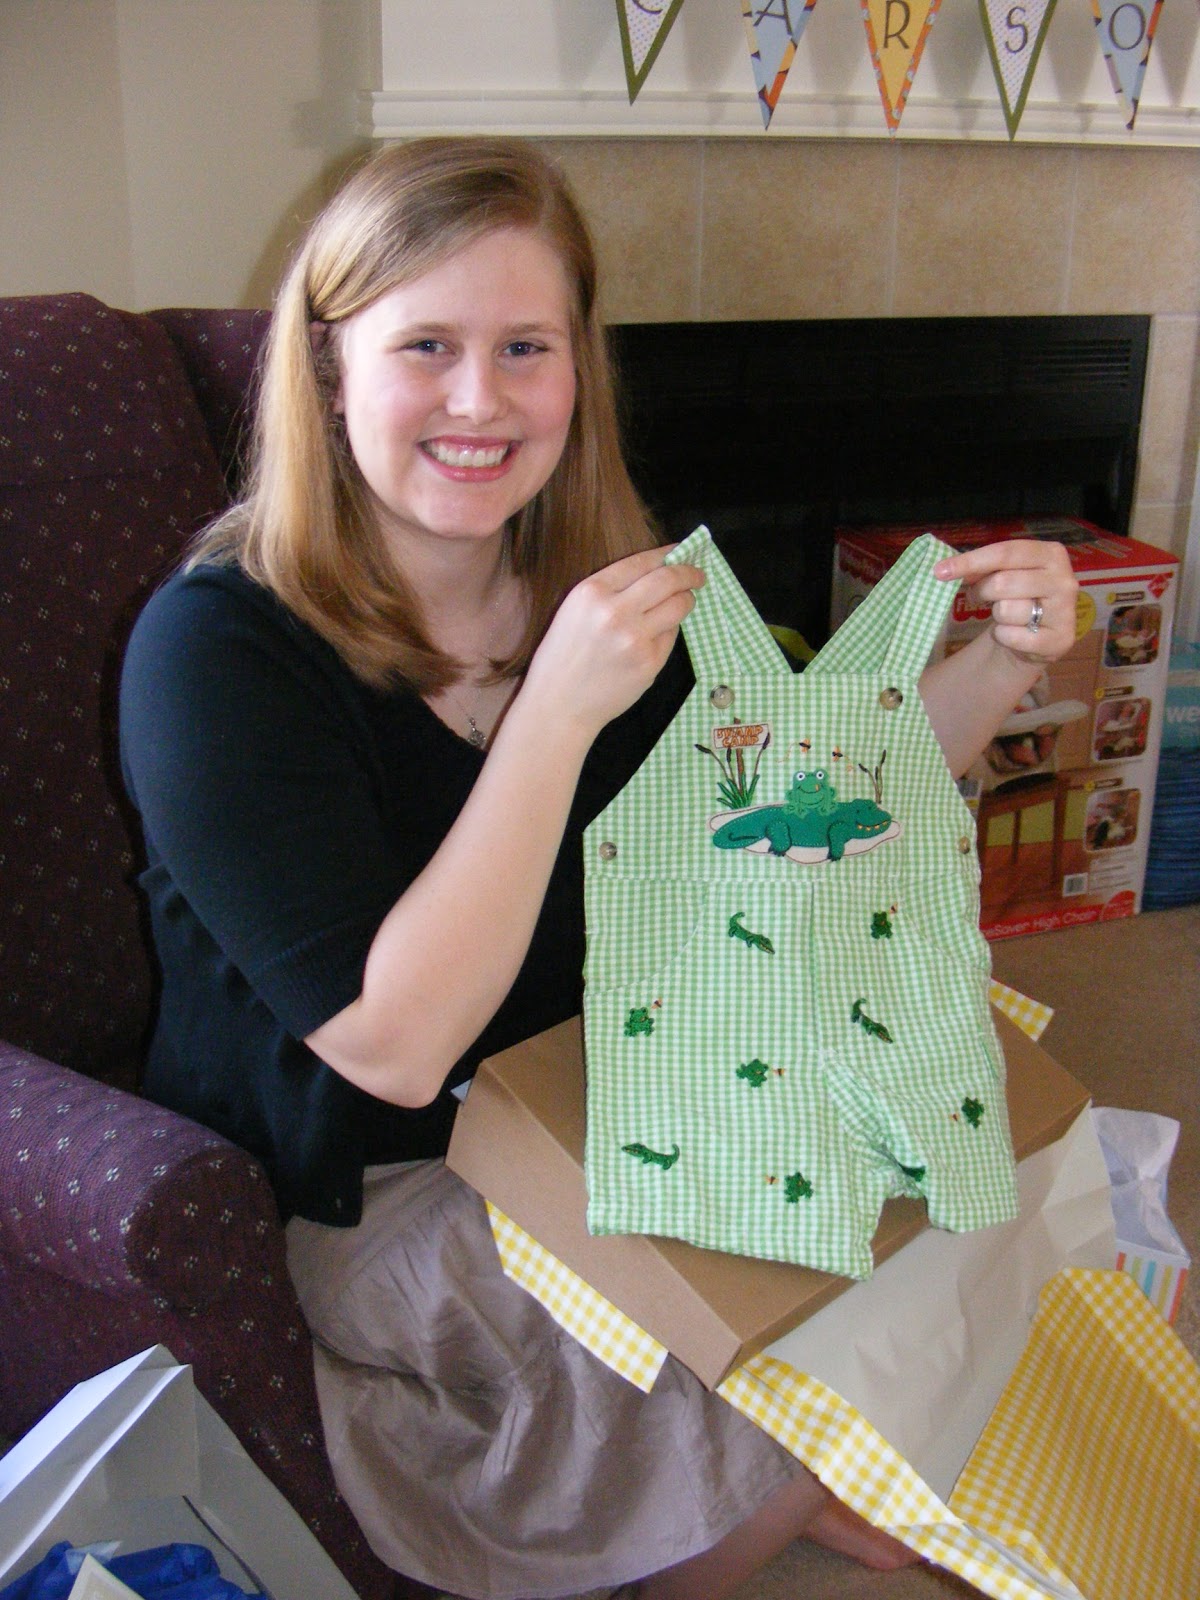
Lovely gifts!  Carson got diapers, blankets, toys, a high chair, and a whole summer wardrobe!


This little curly-blond-haired cherub belongs to my sweet friend, Kristen.  And her name is just as precious as she is...
Winnie June

Carson is soooo blessed!  He has loving parents who adore him. Two sets of grandparents who both call him their FIRST grandchild.  And two sets of great grandparents who enjoyed him to pieces.

Hope you enjoyed this visit to our party.  I loved showing it to you all!


Blessings,
Donna


Linked to:
My Romantic Home
Making the World Cuter
Sunday Showcase

Friday, August 19, 2011

DIY Binders

Long before I started blogging, bookmarking, or Pinteresting, I've had a love affair with magazines.  The beautiful photos, fresh new ideas, recipes, trip reviews, information, etc...they are tremendous eye and brain candy for me.  But what to do with the ideas from magazines that I want to keep?

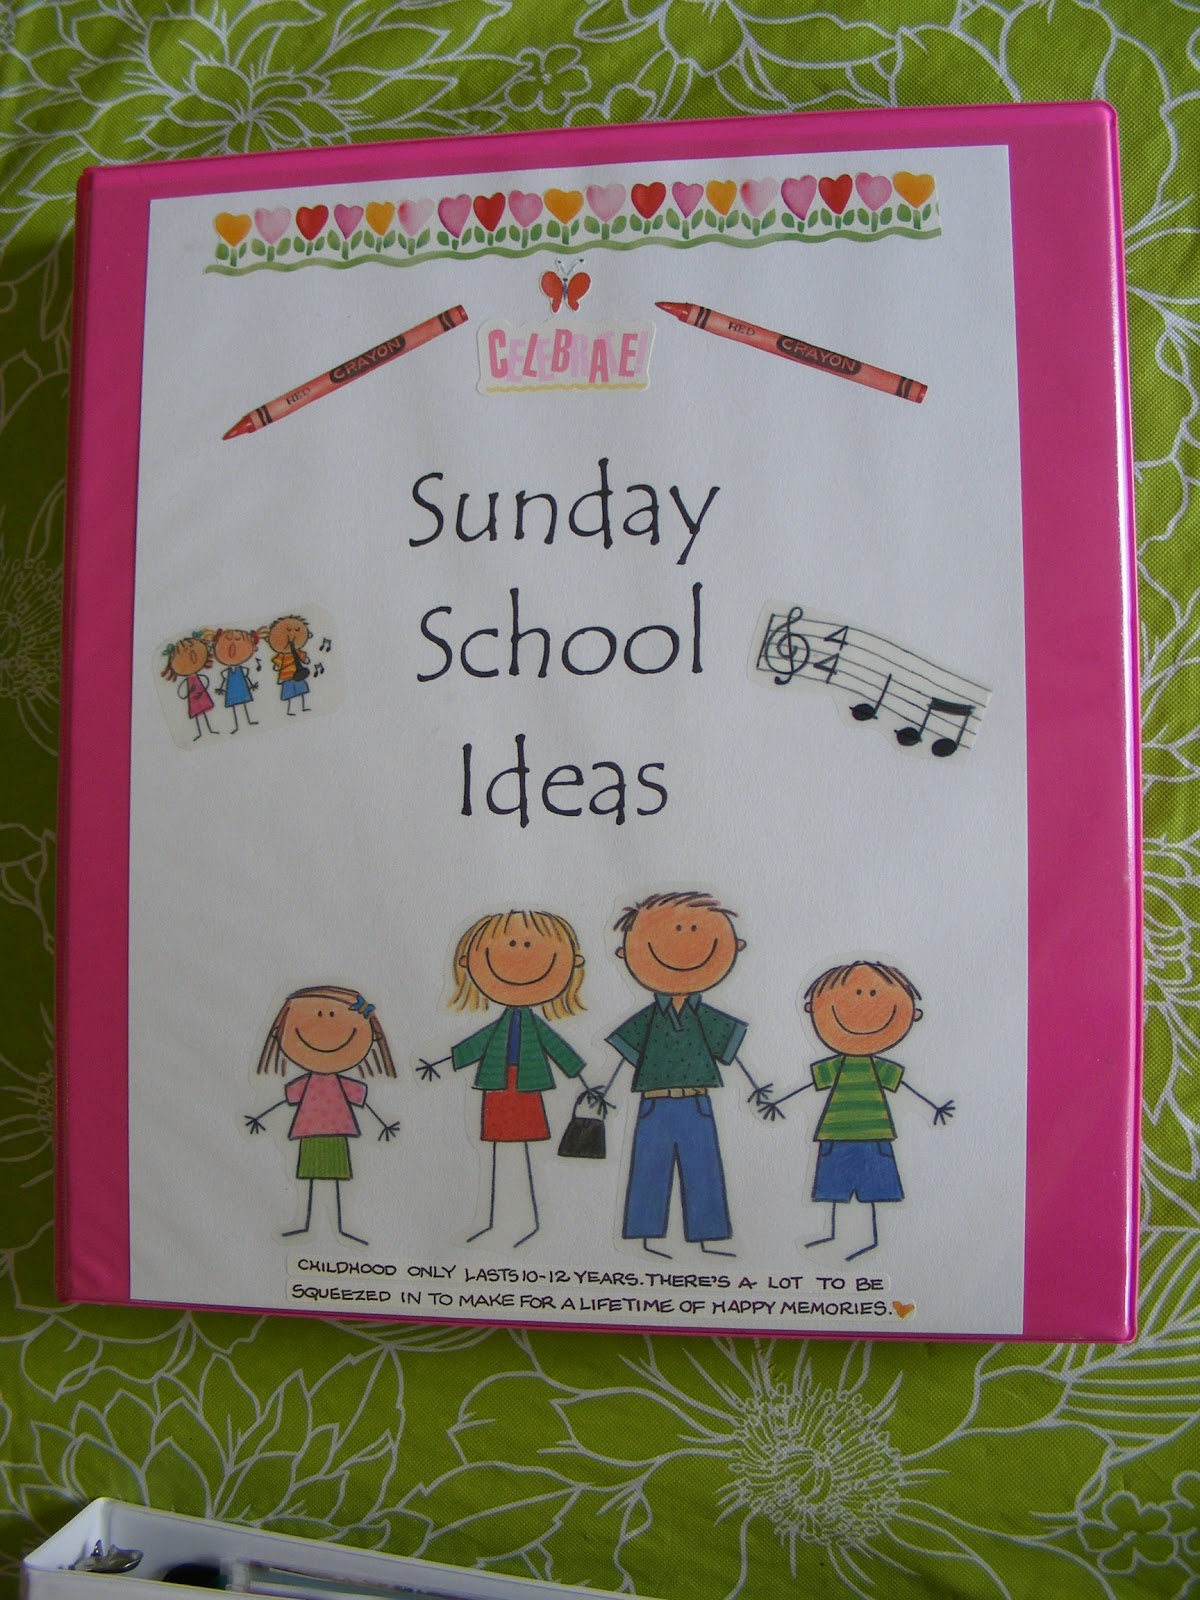
Enter DIY binders.  I gathered some 3 ring binders that had clear pockets on the front.  Create a fun title page to slip into that front pocket, and then fill it with dividers and clear plastic page protectors.  Ready to go!  I love to find a quote for the front of each binder that makes me smile and gives a hint of what is inside.

Over time I have made a variety of binders, including one for  Decorating Ideas and Teaching Children.

This recipe binder was my first!  Isn't that quote so cute and true?

After making and loving the ease of using the recipe binder, I made one for general Ideas.  I love that quote too!  This binder has sections for party ideas, things to make, good-to-know articles, etc.

For this post I will take you on a tour of two of my binders, and will do the others in a subsequent post.  I started the recipe binder with breakfast items and appetizers.

I am inspired by recipes with photos, which works out perfectly for a binder.  I made that chopped holiday salad for a bridal luncheon a few years ago.  So pretty and good.

This section is for main meals.  I can stick in 3x5 card size recipes or whole page ones.  Things from magazines or printed from the internet.  I never fail to be inspired in cooking when I get down my binder and go through all the ideas that have looked good enough to make it into my binder!

This is from my Ideas Binder.  As I was helping plan our daughter's wedding, I began seeing the benefit of collecting photos and ideas of decorations, menus, and centerpiece for all kinds of parties.

I have articles showing how to fold napkins prettily, to how to make DIY votive candles, to how pretty it can look to just put hosta leaves in a white pitcher for a centerpiece.

There is the all-important To Make section in my Ideas Binder.  Anything that I think I might want to make in the future, I tear out of a magazine and put in this section.

It's also a great place to keep those little DIY instructions I bring home from JoAnn Fabrics!

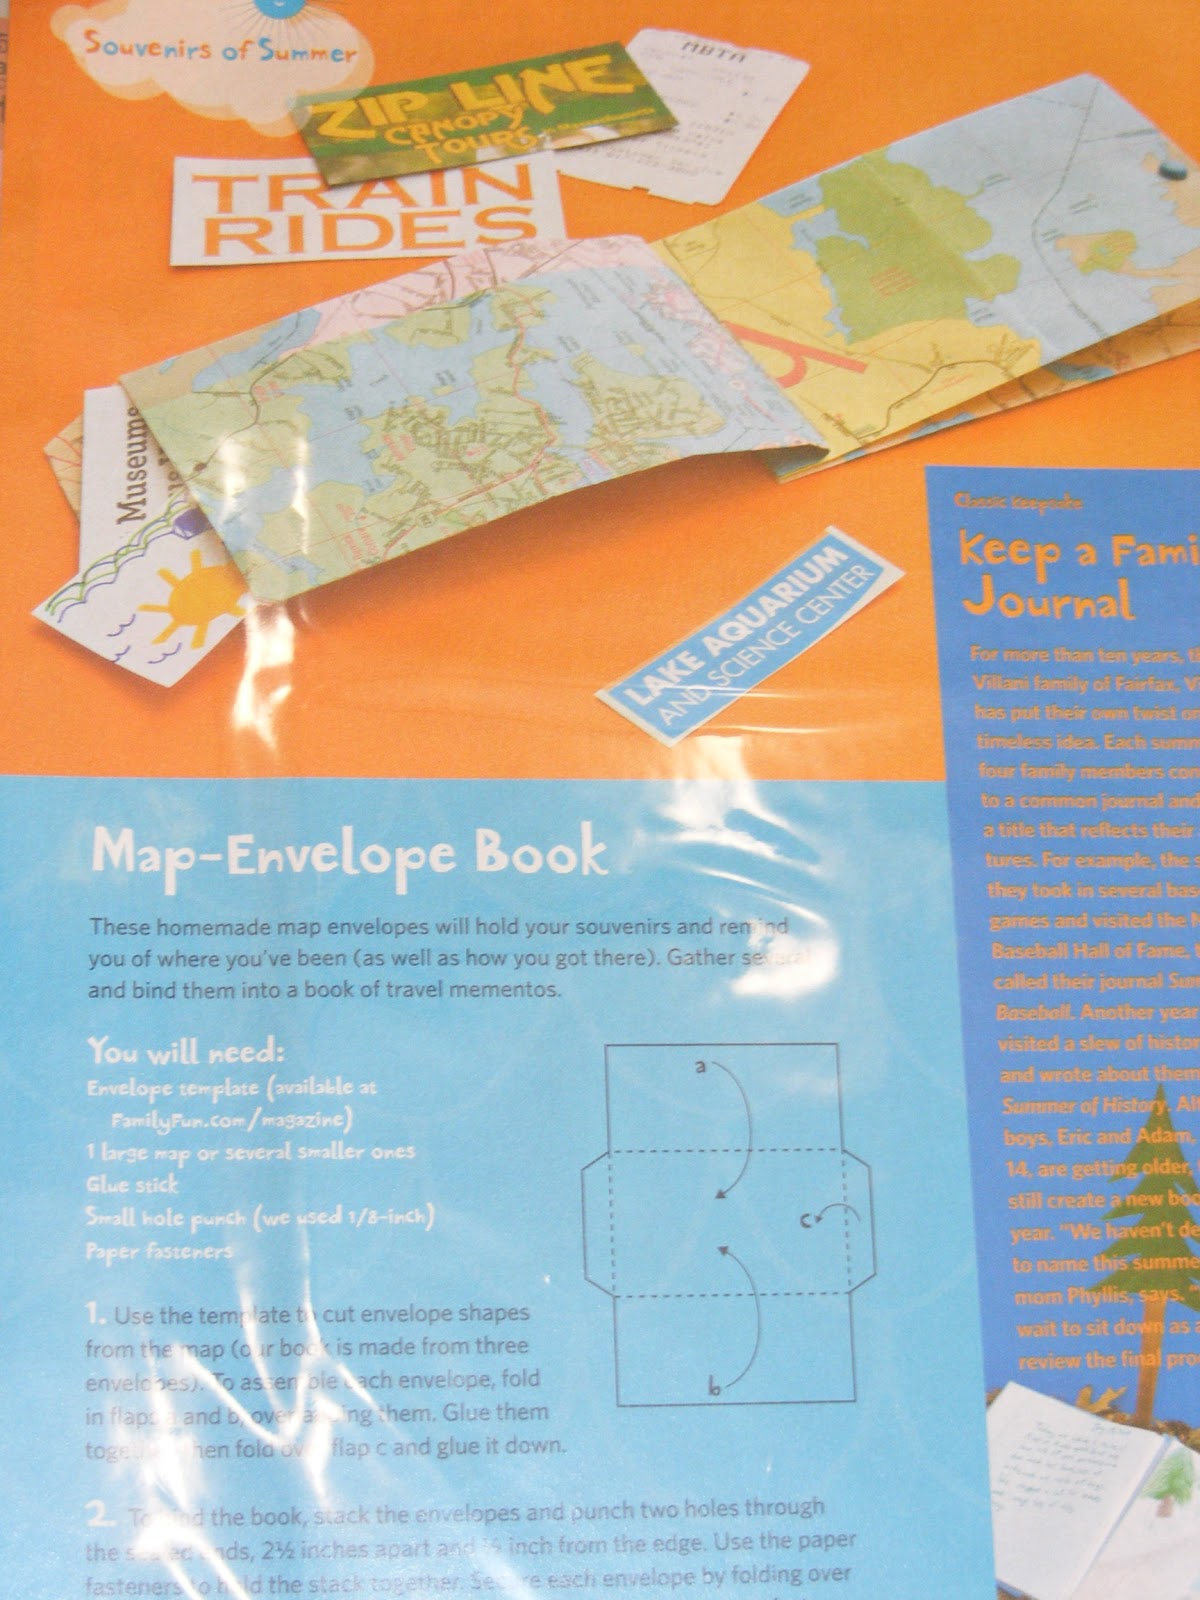
This article inspired me to actually make a Travel Binder and use parts of an old map for decorating it.  See that post here.

The last section in my Ideas Binder is for good ideas that are rather miscellaneous in nature...such as helping aging parents with their finances, or

Keeping a cute haircut possibility  on file.  I have articles in this section on fun games to play with a big group, the warning signs for when your aging parents should stop driving, and what foods to eat in order to stock up on certain nutrients.  

The DIY Binder has been a great help and benefit to me.  Now I can read my magazines, pull out the ideas I might want to try, and then pass on the magazine to someone else before it hits the recycle bin.  And my ideas and recipes have an automatic home to go to, rather than be stacked in the kitchen or bedroom.

Visit again soon for Part 2 of DIY Binders.
Have a wonderful day!

Blessings!
Donna
Linked To:
My Romantic Home
Just a Girl
Sunday Showcase
Sundae Scoop
Made By You Mondays
Tip Junkie
Blue Cricket Design
Tatertots and Jello

Saturday, July 30, 2011

Freezer Pickles

The cucumbers are starting to come in, in our little Square Foot Garden!  Exciting!  So today I decided to make Freezer Pickles, using the recipe found HERE.  I used 3 good sized cucumbers and 1/2 sweet onion, so I cut the recipe down to about 1/3 or 1/2.

You cut up the cukes and onions, salt them, and let them sit for 3 hours.  You also mix up the brine and let it sit for 3 hours.  The above is vinegar, sugar, spices, etc.

Then you drain and rinse the cucumbers well.

Then mix the cukes and the brine well.

It made enough to divide between these three little containers.

And now I have three little containers of pickles in the freezer!  Can't wait to give them a try.  Any one can do this.  So easy.  The June Cleaver in me was so happy to have gotten this accomplished...altho I was wearing shorts and was barefoot instead of pearls and heels.  :)

Blessings!
07 08 09 10
Pin It button on image hover