Tuesday, September 6, 2011

Bits of Bliss

I've been thinking, once again, about the simple joys God gives us in life.  Like my Morning Glories with new blooms each morning.  His mercies are new every morning.

Or the little Hummingbird that visited my flowers while I ate breakfast on the back porch.

How about this sweet saying on the door of our friends Tom and Bronwyn...cutest couple in town!

And their darling son's first b-day party.

I love it when a tiny little creature like this guy surprises me when I water my flowers.

And when God gives me a cute new craft idea...part of a new children's toy coming to my etsy, Perfect Darlings, soon!

And I L O V E my new Butter Bell!  Wanted one forever.  But they are expensive.  And the one I ordered from Amazon came broken.  So when I found this  one at Function Junction for about $8, I was smitten.  It works great and looks cute too!

Also enjoying my 'new' kitchen utensil holder...a vintage milk glass vase from the thrift store.

Bliss includes a sweet, sun-kissed apple at our nearby orchard.

And two bags of fresh picked Golden Delicious apples as well as the family fun of picking them together.

And lastly, a fresh new bit of September decor on our kitchen table.  Apples.  WITH the leaves still attached.  Cute, cute, cute.

What are your bits of bliss this week?  Stop to smell the apples, see the humming birds, and start that new little craft this week.  All are gifts from our Amazing Creator.

Blessings and Bliss!

Donna


Linky Parties:

Saturday, September 3, 2011

Travel Gadget Organizer from a Tea Towel

In July, JoAnn Fabrics had their summer line of things marked down to about 70% off.  I always have my eye open for cute tea towels, as they are a nice sized, already-hemmed, sturdy piece of fabric...just right for a little project like a pillow cover, or this!

Martha Stewart had emailed me this cool idea for creating a gadget organizer out of a tea towel...wasn't that nice of her?! :) This towel was just right for this project.

It's super easy, just requiring a few straight lines of stitching...ready?  Ok, I hope you can see from the photo how it is  folded.  You fold the bottom of vertically-laid towel up about 2/3 of the way, then fold it down, and up again...letting the first fold show alittle bit under the second fold.  This is kind of like an accordian pleat.  It will create 2 layers of pockets.

Next use a ruler and a disappearing ink fabric pen to mark off your pockets.  I wanted four equal sized pockets across, but you can customize it for your needs.

My pockets were all about 4 inches wide.

Since I was dealing with a large plaid, I had to try to keep my plaid lines straight, even though my towel wasn't really 'square'.  I sewed the two outside seams first.  Then the middle seam, and lastly the two outer pocket seams.  

Sew super easy!  (Pun?  Yes!)  When I travel I tend to forget which bag I put my camera cord in, or my ear buds.  With this organizer I have a go-to place for those items as well as extra batteries, my phone charger, bluetooth charger, etc!  I took it on my next trip, and it really was a help.  Yay!

Can you see that the pockets are staggered?  The first set of pockets are alittle higher than the second set, so that I can easily see what is in the top set and the bottom set.

I fold it into thirds and tie it with a gross grain ribbon.  I'd like to attach a tie permanently, but haven't taken that step yet.

Thanks for stopping by!!  Your comments and visits are always greatly enjoyed!

Blessings,
Donna

Linky Parties:
My Romantic Home
Tater Tots and Jello
Making Mondays Marvelous
Sew Darn Crafty
Made By You Mondays
Tip Junkie
More the Merrier Monday
Sundae Scoop
Sunday Showcase

Saturday, August 27, 2011

More DIY Binders


Last week I shared a post on how to organize the recipes, magazine pages, and computer print outs that you want to save.  There were pictures from my Recipe Binder and my Ideas Binder.  This post will show my Decorating Binder and Teaching Binder.  See Jane Austen's words above on the cover of the binder?  Oh, so true.

My Decorating Binder is a great place to organize the many great magazine photos I find.  I have one section for Seasons, and have inspirational photos of ideas for Fall, Christmas, Winter, Spring, Summer, and all the holidays in between.  Don't you love that frame with a bunting of real leaves hanging across it?!

And this darling Christmas tree made of layering open books?!  How do people come up with these smart ideas?!

More lovely Autumn ideas.


I have a section for colors.  Better Homes and Gardens has a special article on color each month, with several recommended paint colors in a certain color family.  I love to save those so if I need a really nice green, for instance, I've got some names to investigate.

Then an Interior section, where I gather ideas for pretty rooms, unusual displays, and nice room arrangements.

The Exterior segment holds ideas for outdoor holiday decor, patios, flower beds, door colors, porch displays, etc.
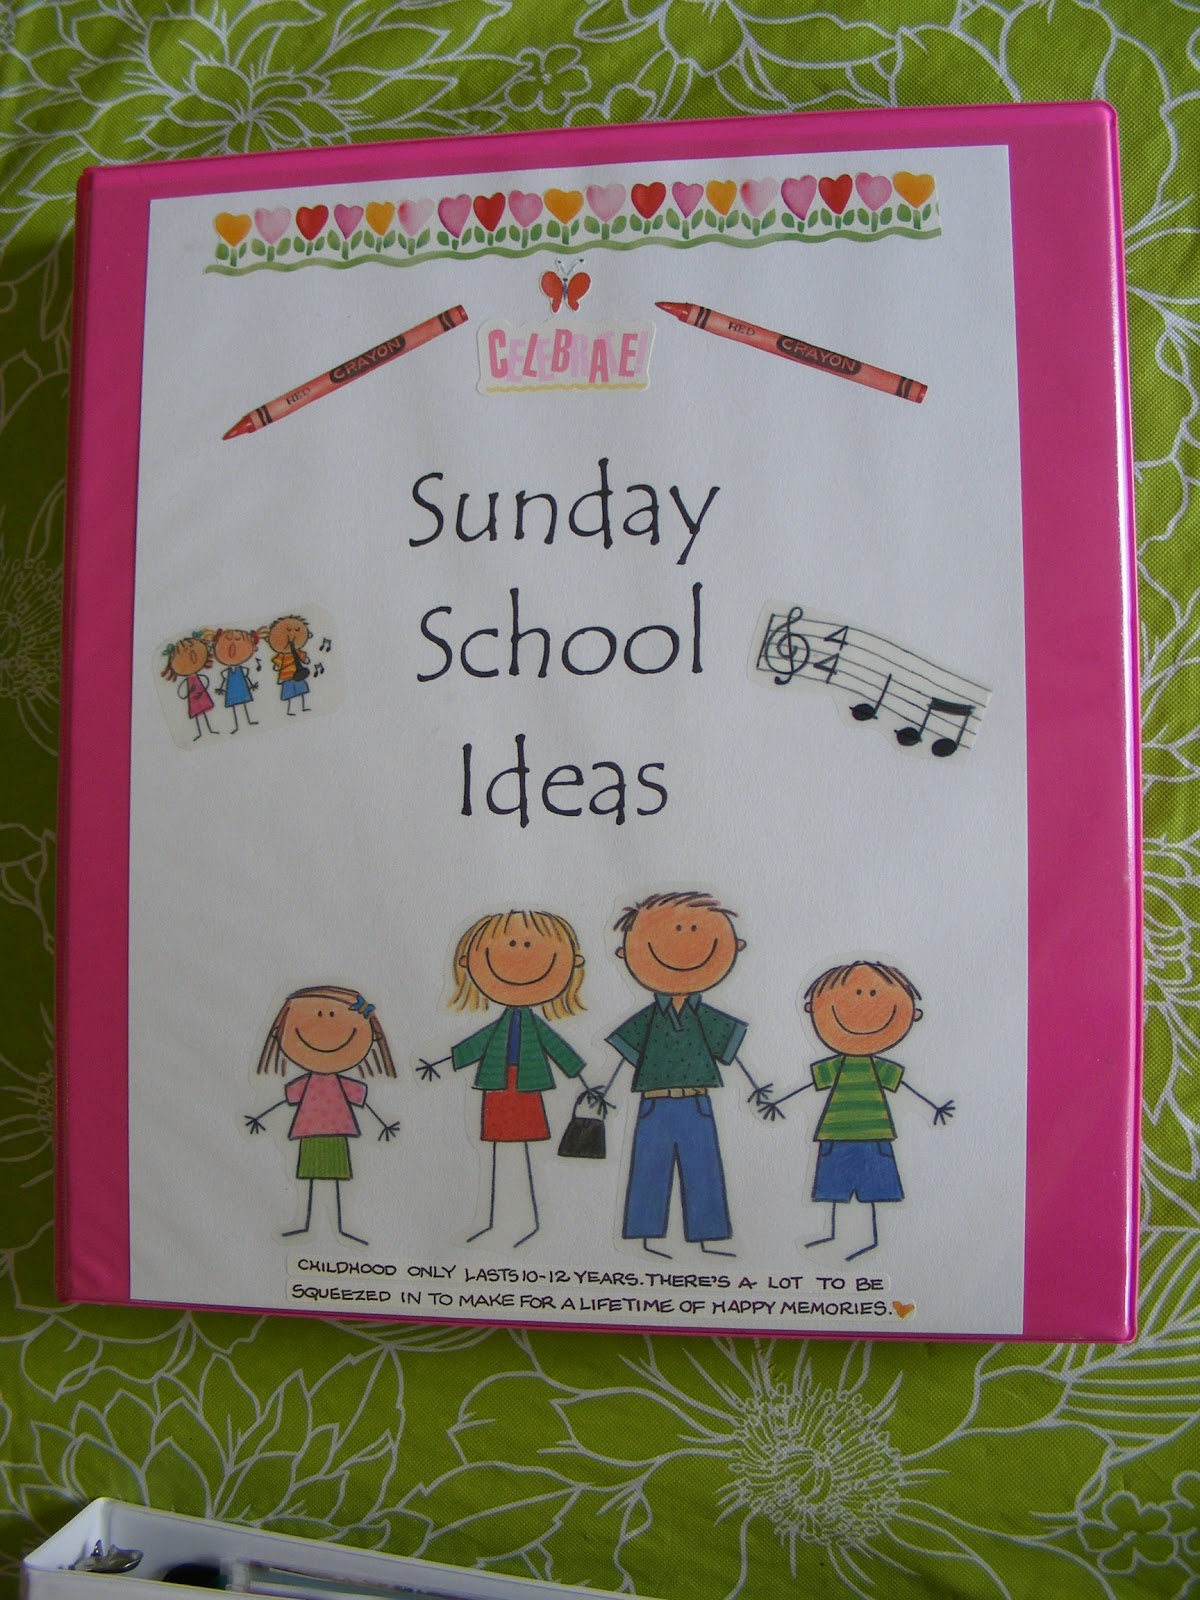
This is my Teaching Notebook...I taught Kindergarten Sunday School for years before we moved down south, and this is the notebook I started for collecting ideas for teaching children.  I am working with middle schoolers at church now, but will still keep up this notebook for the future.

Here is a list of teaching methods.

The Activities Section had great ideas of things to do with a group of children...creating a cardboard castle, for instance!  Alot of my ideas came from the Family Fun magazine.

And of course I had to have a big section for Crafts!

And games!  This notebook is going to be helpful as I have grandchildren down the road.  :)

And of course I needed a spot to keep samples of crafts made previously, so I didn't need to keep re-inventing the wheel every year.  :)

Notebooks are such a great way to organize your recipes, ideas, gift ideas, important papers, etc.  I even have a binder of some of my grown kids special papers and letter from their teen years...like when we had them compose their Top Ten in a Spouse list, before they began to date.  Those are treasures!  In that binder I also have the last letter that my Grandma wrote me, just days before she died of a sudden heart attack.  I'm much more apt to look at these things and enjoy them in a binder, than in a box.

Inspired?  Just start!  When you choose a binder, you are on your way to beautiful notebooks that will be like scrapbooks for years to come.
Thank you so much for stopping by!  Your comments are always a joy to me!

Blessings!
Donna
Linky Party Time:
Sunday Showcase
Skip to my Lou
Tip Junkie

Tuesday, August 23, 2011

Smitten with a Drawer

About a month ago while shopping with a dear friend at a favorite flea market, I spied something unique and dear.  It was a little wooden antique drawer.  Just about 15 inches in depth and about 4 inches wide.  It had rounded corners and a sweet old fashioned crystal knob.  I loved it.  But I couldn't justify buying it b/c I didn't know where I'd put it.


That little drawer has not left my memory, and just recently I could visualize it on my coffee table in the great room.  Tonight while running an errand near this flea market I decided to stop and see if it was still there.


It WAS!!  I was such a happy camper!!  And that little $10 treasure came home with me.  Happy, happy sigh.


I think it will be sooooo fun to use in decorating for each season.  I can visualize pretty linens spilling out of it, according to the season, as well as plants, candles, antique gloves and books, etc.


I used Old English furniture polish on her when we got home, then took about 5 minutes to gather some linens and kitchen items to put in her.  


And here she is!  She will grow and blossom and bloom as I have more time to find the perfect little belongings to fill her space.  And I would LOVE to hear your ideas about what you would put in her.


Do you think she is from the 1940s?  Have you seen antique drawers 'out there' in the decorating world?  I rather think she is happy to be in use again.  The star of my show, in fact.  What do you think?


Thank you so much for stopping by!

Blessings!

Friday, August 19, 2011

DIY Binders

Long before I started blogging, bookmarking, or Pinteresting, I've had a love affair with magazines.  The beautiful photos, fresh new ideas, recipes, trip reviews, information, etc...they are tremendous eye and brain candy for me.  But what to do with the ideas from magazines that I want to keep?

Enter DIY binders.  I gathered some 3 ring binders that had clear pockets on the front.  Create a fun title page to slip into that front pocket, and then fill it with dividers and clear plastic page protectors.  Ready to go!  I love to find a quote for the front of each binder that makes me smile and gives a hint of what is inside.

Over time I have made a variety of binders, including one for  Decorating Ideas and Teaching Children.

This recipe binder was my first!  Isn't that quote so cute and true?

After making and loving the ease of using the recipe binder, I made one for general Ideas.  I love that quote too!  This binder has sections for party ideas, things to make, good-to-know articles, etc.

For this post I will take you on a tour of two of my binders, and will do the others in a subsequent post.  I started the recipe binder with breakfast items and appetizers.

I am inspired by recipes with photos, which works out perfectly for a binder.  I made that chopped holiday salad for a bridal luncheon a few years ago.  So pretty and good.

This section is for main meals.  I can stick in 3x5 card size recipes or whole page ones.  Things from magazines or printed from the internet.  I never fail to be inspired in cooking when I get down my binder and go through all the ideas that have looked good enough to make it into my binder!

This is from my Ideas Binder.  As I was helping plan our daughter's wedding, I began seeing the benefit of collecting photos and ideas of decorations, menus, and centerpiece for all kinds of parties.

I have articles showing how to fold napkins prettily, to how to make DIY votive candles, to how pretty it can look to just put hosta leaves in a white pitcher for a centerpiece.

There is the all-important To Make section in my Ideas Binder.  Anything that I think I might want to make in the future, I tear out of a magazine and put in this section.

It's also a great place to keep those little DIY instructions I bring home from JoAnn Fabrics!

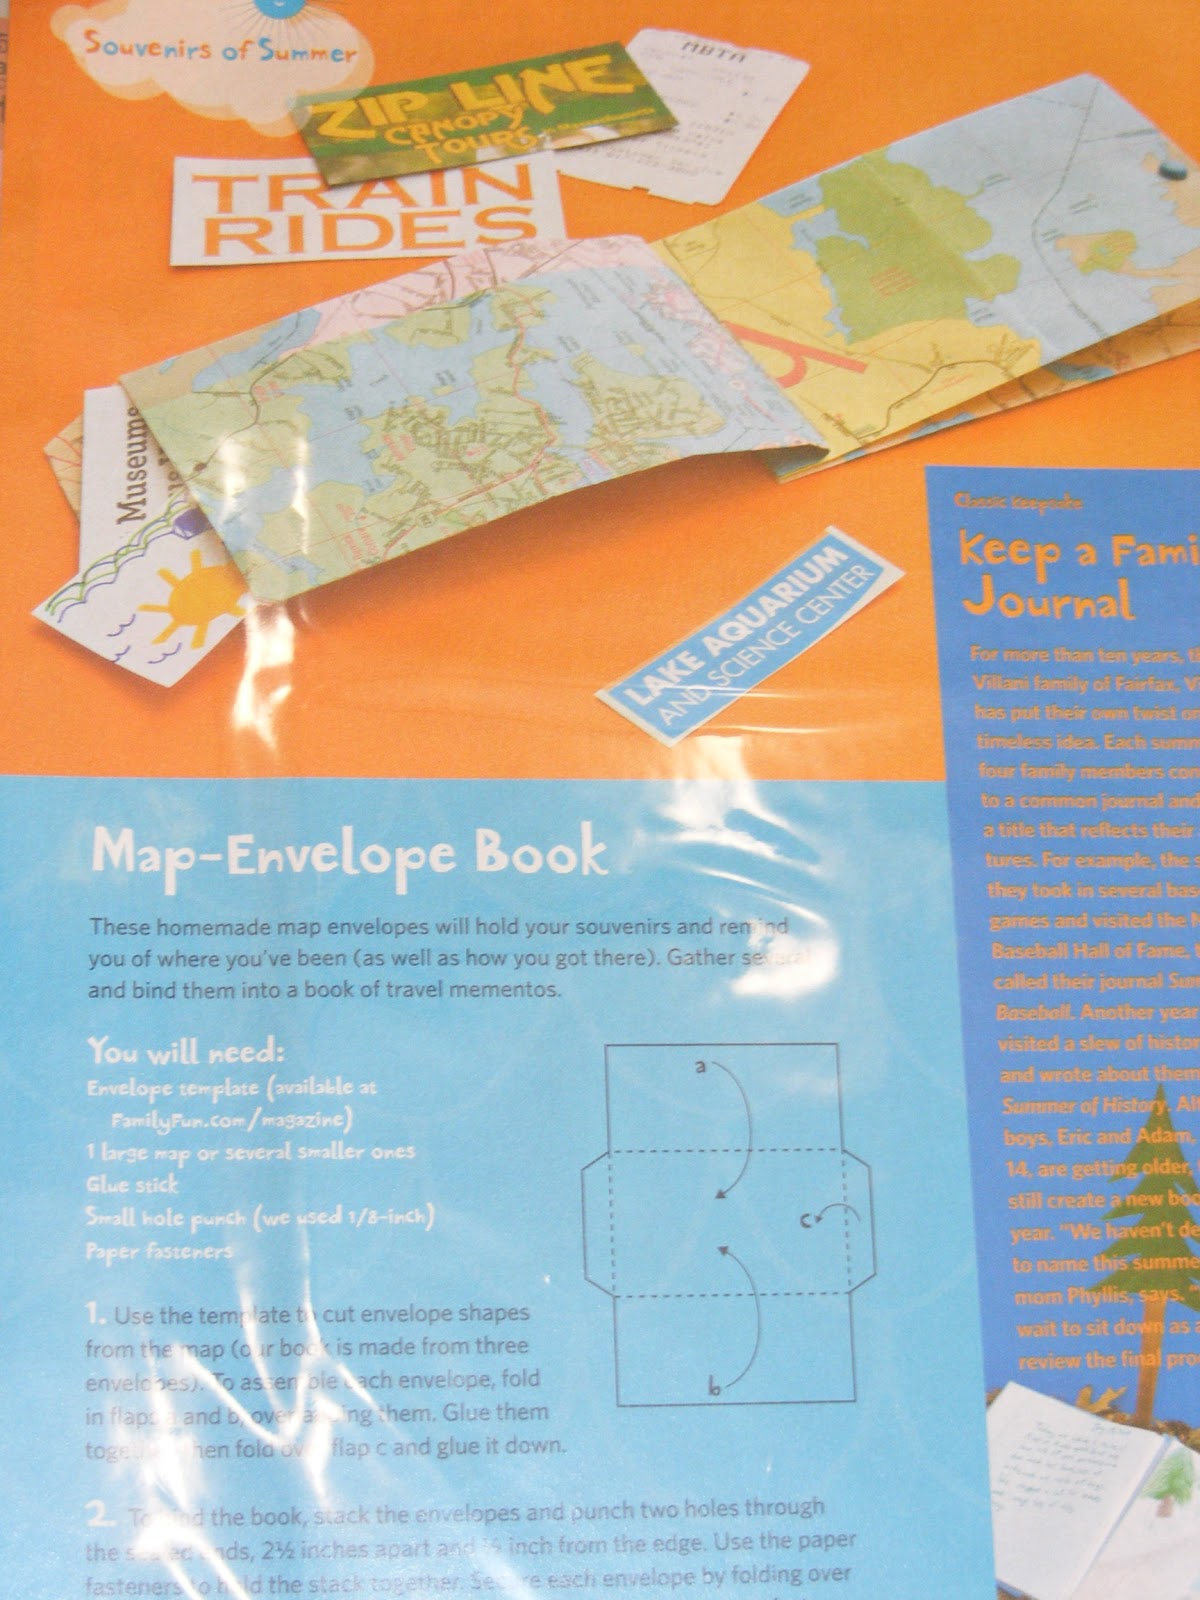
This article inspired me to actually make a Travel Binder and use parts of an old map for decorating it.  See that post here.

The last section in my Ideas Binder is for good ideas that are rather miscellaneous in nature...such as helping aging parents with their finances, or

Keeping a cute haircut possibility  on file.  I have articles in this section on fun games to play with a big group, the warning signs for when your aging parents should stop driving, and what foods to eat in order to stock up on certain nutrients.  

The DIY Binder has been a great help and benefit to me.  Now I can read my magazines, pull out the ideas I might want to try, and then pass on the magazine to someone else before it hits the recycle bin.  And my ideas and recipes have an automatic home to go to, rather than be stacked in the kitchen or bedroom.

Visit again soon for Part 2 of DIY Binders.
Have a wonderful day!

Blessings!
Donna
Linked To:
My Romantic Home
Just a Girl
Sunday Showcase
Sundae Scoop
Made By You Mondays
Tip Junkie
Blue Cricket Design
Tatertots and Jello
07 08 09 10
Pin It button on image hover