Tuesday, July 5, 2011

Decorating With Dishes

I love dishes.  I come from a long line of dish-lovers.  So consequently, I have more than my fair share of pretty dishes collected from thrift shops, garage sales, antique stores, and department stores. I've realized that a great way to enjoy these pretty plates, bowls, tea cups, etc. is to use them in decorating. Today I just want to show you some things you can do with your favorite china, glass, and pottery pieces so that those pretties aren't just tucked behind glass in your china cupboard, but they are out where you can see and use them every day.
I requested these adorable, chubby little Crate and Barrel bowls for my b-day a few years ago.  They live on our stovetop as a cute vintage touch, holding a tin cookie cutter, tiny wire whisk, a cinnamon stick, and a coffee scoop.  I love them...and I need to remember to use them for serving more often!

My mom in law gave me the darling polka dot plates for a gift!  So cute!  I decided to leave them out on my kitchen counter as a part of a little display, so I can enjoy seeing them and use them often as well!  The plate in the back of the plant is a black and white New York City plate.  I swap it in and out with other plates in my collection, to fit the feel of each season.  The little green bowl is an antique from my husband's grandmother's home.  I enjoy floating a large flower in it or just using it for a wee bit of storage now and then.

Our kitchen/dining room wall...this is the only thing on this large wall and it just fits our home.  The three plates I purchased at Home Goods to go in our green and white kitchen...decorating with plates is very inexpensive, and allows you to change your design whenever you want without alot of work.  This wall is a happy-wall, to me!

My parents were downsizing last fall, and this pottery piece from their wedding gifts 51 years ago didn't make the cut.  I LOVE it!!  And it's been a special piece on our living room lamp table ever since.  It's pretty, earthy, and a piece of my family history.

Not only are dishes a beautiful, inexpensive tool for decorating, but they create 'story' vignettes throughout your home.  The green and white tea cup was brought to me by my sis in law from Romania.  I love it AND the church plate which I found at Goodwill.  I change out the plate on my mantel according to the season.

This piece was made by me from pieces found at Goodwill.  The cloche was a cheese tray lid.  The plate was something I already had, and I glued a sweet cut glass goblet under it to act as a base.  

Another heirloom from my mom...this aqua relish dish was also one of her wedding gifts.  I used it for a relish dish for years, but now use it on my bedside table to hold vintage costume jewelry, some nail polish, and some of my own everyday jewelry.  I love that it matches our aqua, green, and white bedroom so well and that I can enjoy seeing it everyday rather than 3 times a year.

I bought one place setting of this vintage aqua Pfaltzgraff set at Goodwill 3 years ago.  Our daughter was getting married and her wedding colors were black and aqua, so I just knew I'd use it for something with the wedding, and I did.  Now I am using the pieces in our bedroom/bathroom.  I have one of those amazing, pricey LUSH bath bombs, which I can never quite bring myself to use!  So I wrapped it in aqua tulle and it now decorates our garden tub in the master bathroom.

One of my favorite vignettes...I created this for my mother's 70th B-day Luncheon back in April, and I love it so much, it continues to grace my china hutch.  Just pieces that I already had along with antique gloves.

A round wooden tray that was a wedding gift for my husband and I 27 years ago is such a versatile piece in decorating.  Right now it's on our dining table along with a vintage footed green dish that I love (it's for sale in my etsy shop) and this darling little green custard cup that I got for Christmas...it's holding my daily vitamins, rather than being always tucked away behind cupboard doors.


The rest of the place setting of aqua Pfaltzgraff.  The bowl is upside down, functioning as the perfect pedestal to the dinner plate.  Layered over that I have a white hankie, a beautiful piece of my dear friend Lori's mother's pink depression glass, and then a sweet little tealight candle.  I love this on our dresser.

Two little vintage glass salt and pepper shakers make the sweetest little bud vases.  I'm so enjoying these this summer with cuttings from my gardens.

And lastly, I recently decided to use this darling Pfaltzgraff tea cup set that I've had for decorating inside my house for about 4 years, and use it to make a tea cup bird feeder for my front flower gardens.  One less thing to dust in the house, and a new sweet way to enjoy the tea cup!  The shape, size, and decor of this set were just perfect for a bird feeder.  I also have some similiar ones for sale in my etsy...the shop is listed in my sidebar if you are interested.  The tutorial for making your own tea cup birders is HERE.

Thank you so much for joining me on this little dish display!
I'd love to hear about and see pictures of how you use dishes to decorate in your home and garden too.

Blessings!

Donna

Linked to:
Tip Junkie
Someday Crafts 
My Romantic Home 
Don't Waste Your Homemaking 
Very Merry Vintage Style

Saturday, July 2, 2011

A Magical Vacation

I've been out of bloggy land for a week.  We were on a family vacation!  Yes, Disney World.  Our youngest child is 13 and the only one still at home.  This was his first time to go and it was a joy to experience it with him!  I'll be back with more ideas, crafts, and projects soon!  Thanks for sticking with me!  Blessings!  Donna


Wednesday, June 22, 2011

Teacup Bird Feeders

Several weeks ago I found a darling idea for turning a vintage teacup into a bird feeder!  You can read about it HERE.  A recent trip to one of our thrift stores in town produced these 2 darling vintage teacups and saucers in perfect condition!  Score!  I loved that they were a vintage Corelle and a vintage Pfaltzgraff.  And I LOVED the shapes of them.

A tube of "Amazing E-6000" glue which is clear, waterproof, and works on glass and china well, was the next step.

After washing and drying the cups well, I put a bead of glue along the edge of the bottom of the cup, making sure this is where the cup will sit flatly on the saucer.

Same thing for the Corelle cup...this pattern is from the late 60s and early 70s and is called Snowflake Blue Garland.  Sweet.

I made a trip, earlier today, to Home Depot.  Now I rarely go there without husband along, so I really felt like a "big girl" taking care of this next part all by myself!  I found the plumbing aisle where the copper pipes are and had a 10 foot long, 1/2 inch wide piece of pipe cut into 3rds.  Next I found (among the myriads of little boxes on this wall) the 1/2 inch copper caps.  Purchased three.

Next I carefully turned the cups and saucers (which are glued and drying) upside down and after sandpapering the tops of the copper caps to make sure they stick well, I glued them to the center of the bottom of the saucer.  Easy.

The copper pipe can be sanded for extra shine, and I plan to spray it with polyurethane spray so that it won't rust.  But it easily sticks right into moist ground and makes a great stand for the teacup bird feeder.  The cap slips right over the top of it.  What a brilliant idea.  I am always amazed by the creative people God has made!!!  And am so thankful for the ideas that they share with the rest of us.  Thank you DIY Weddings!
The rest of these pictures just show what the finished product looks like.  I will be quiet now and let you enjoy the photographs.


Are you getting excited to try one of these?!  What precious gifts they would make!  I plan to make one for myself, for my mom and daughter and mom in law, and some to sell in my etsy shop!  In fact, these two will probably go in the etsy shop as soon as I get back from vacation next week.  Thank you for stopping in to visit!  I so appreciate your time and sweet comments.

Blessings,

Tuesday, June 21, 2011

~ More Little Things...~

It's the little things in life that often bring the most joy...like this burst of sunshine in my yard that is nearly open!  Guess who planted this?  The birds.  It's right beside my birdfeeder.  :)

This sweet perennial was here when we bought the house.  I LOVE orange flowers.  So cheery.  I found out today it is called a Butterfly Flower.  I like that.

My first hollyhocks.  Ever.  These are miniature ones.  So sweet.  Ordered from the Michigan Bulb Co.

Buttercrunch lettuce making my garden look yummy and lush.

I planted zinnias by seed.  They had a hard time getting started, but now the first blooms are opening.  Zinnias are the Indiana State Flower...but I've loved them since I was a child.  Aren't the stars in the center cool?  God is such an amazing Creator.
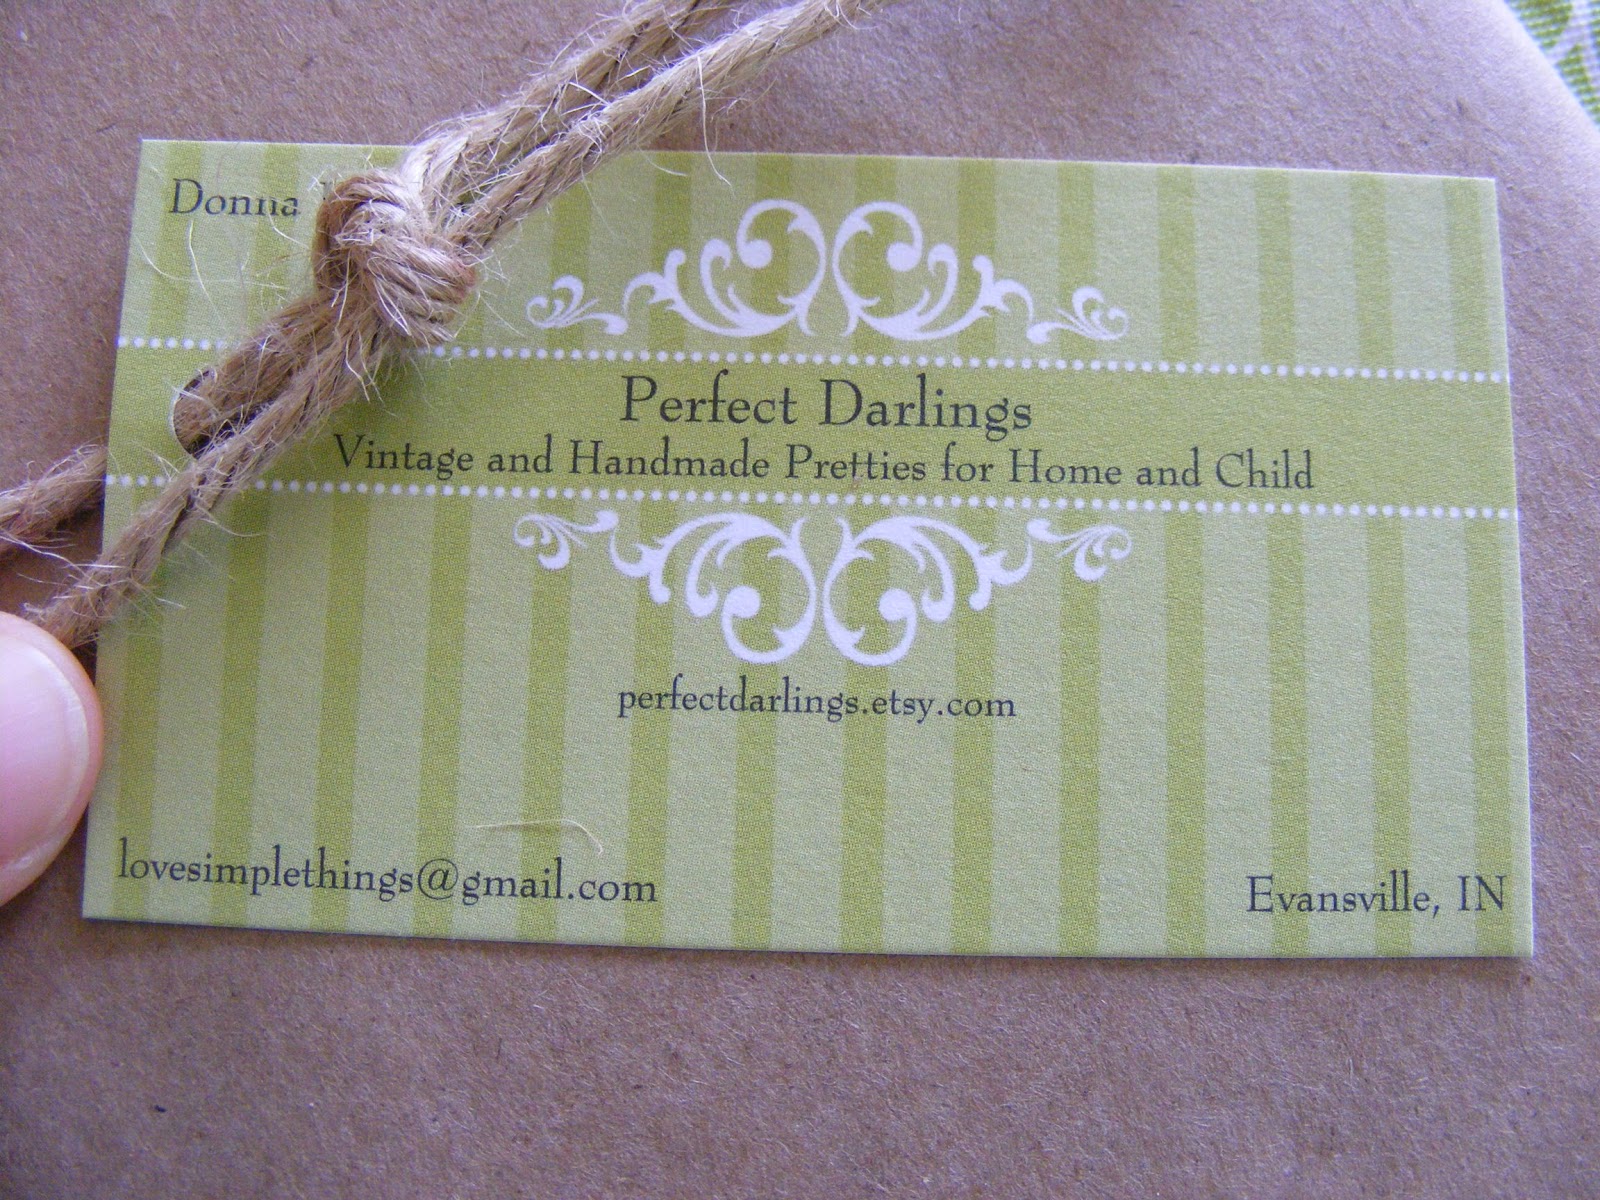
This little thing makes me happy!  My very first business cards!  In green.  I love them.

And it's a happy little thing to send off an etsy order to a girl in Oceanside, CA...wrapped in brown paper and tied up with string...yep, one of my favorite things. ;)

I love this amazing little thing...I could just kiss the person who decided that an ac vent should go right here by the stove where I stand and cook.  Ahhhh.

This was a sad little thing today...my favorite china tidbit tray got broken, but I had to remind myself that this was a 'little' sad thing.  And I'm glad for that little thing called E-6000 glue.  It solves alot of problems!
Right now I am greatly enjoying another little treat...time alone.  Rare, so a treat!

Enjoy your day!

Monday, June 20, 2011

A Lovely New Chapter Ahead

My husband and I have entered a lovely new chapter in our lives...our daughter is expecting our first grandchild!  I think I was born to be a mama and a Mimi...so I am excited and ready!  That's me with a future granddaughter up there above...hee hee!

Our first born, Lindsey Brooke, is our only daughter, and therefore is the family princess.  Now she will be giving birth to her own little Prince or Princess.  She's 10 weeks, and due in mid-January.
I'm taking my Mimi job seriously. ;) Bargain shopping for things for our grandbaby...to have at his/her house or to have at Papa and Mimi's house.  Just wait til we find out if it's going to be a Prince or a Princess!  Then my sewing machine will start humming too!

Congratulations Rich and Lindsey!  You will be excellent parents and will love this new journey that will last the rest of your lives.  Children are a blessing from the LORD.

Blessings,
Mimi Donna

Thursday, June 16, 2011

Felt Flowers Headband

Can you tell it's only my 2nd week of summer break at home?  I homeschool the rest of the year, and don't have alot of time for crafting.  Now that summer is here, I find myself making something every day!  Bear with me.  :)  I wear alot of these store-bought kinds of headbands, and have been wishing to dress them up for weeks.  My niece Kara of Sweet Baby Cakies had recently made some melted felt flowers and told me how to do it.  That's exactly what I had wanted to do with my headbands, so today it was on my schedule of things to do.
I used my circle punches to make 2 paper patterns...one smaller and one larger.  Then using white felt I cut out three of each size.  Perfection not required as you will see.

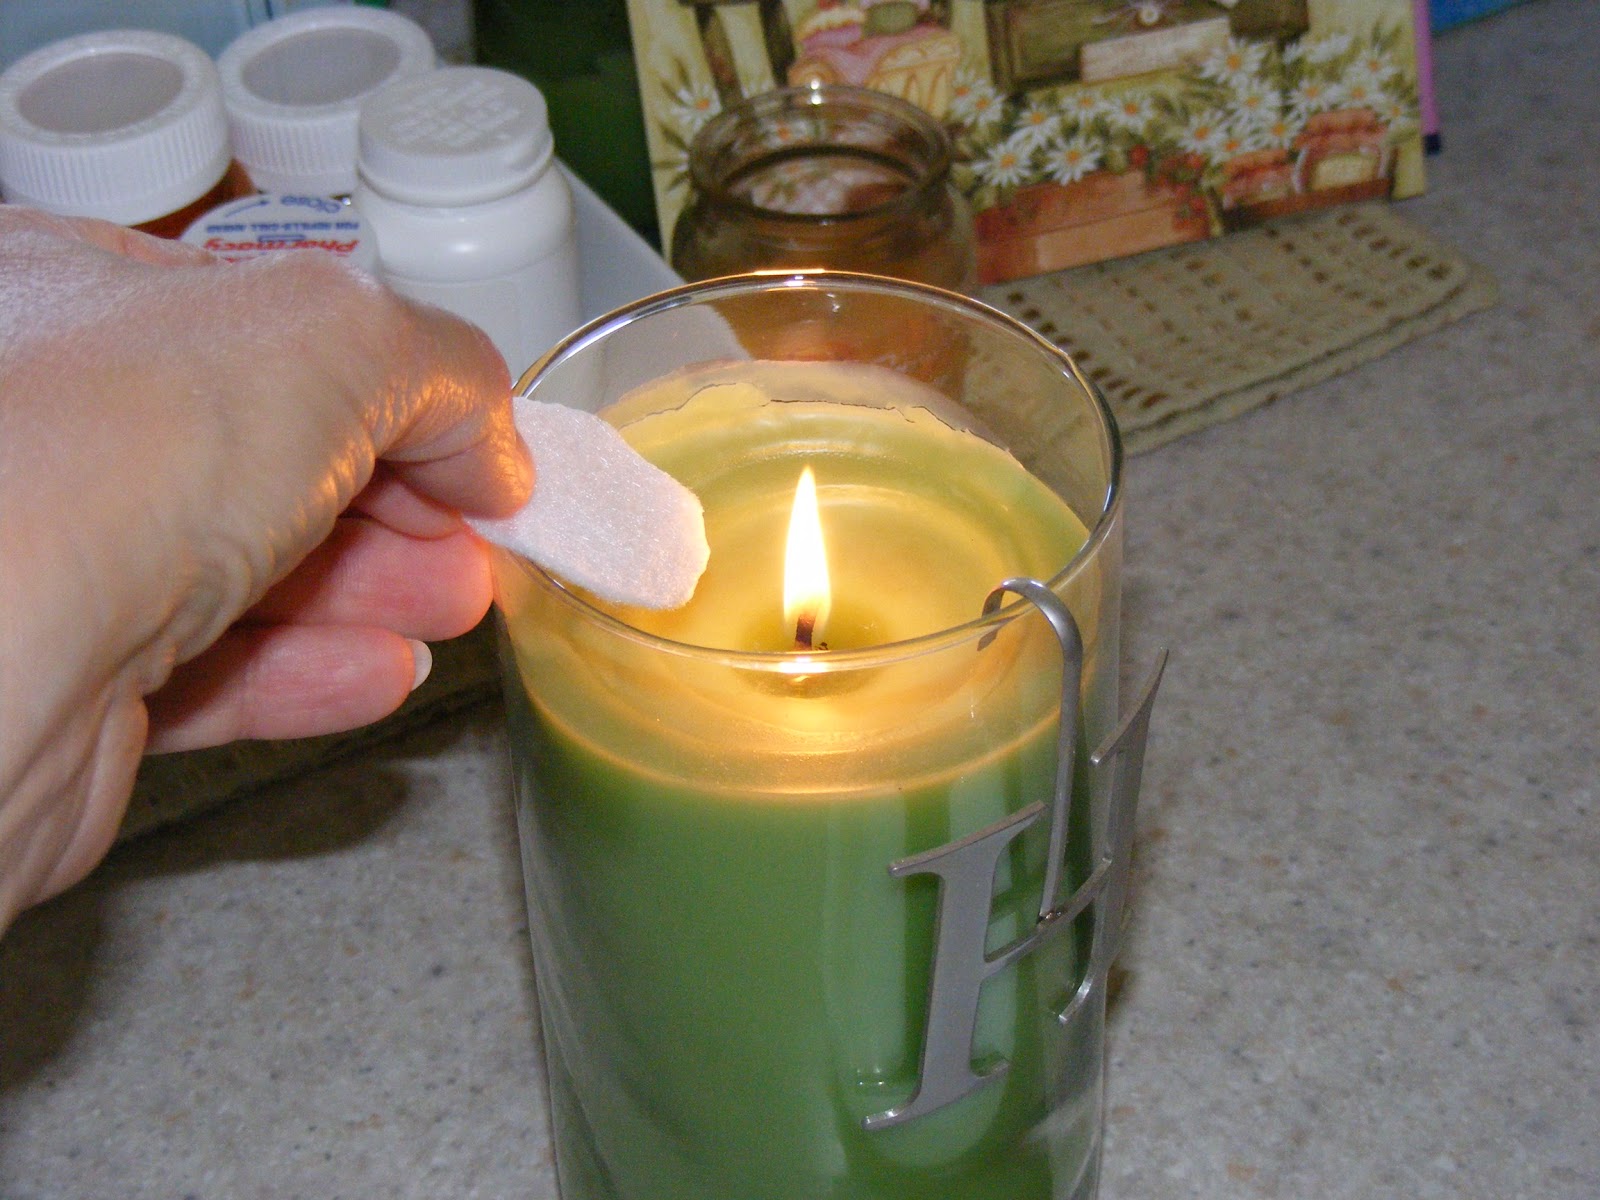
I then lit a candle to use as the flame that would gently melt the sides of my felt circles, and had a bowl of water nearby for dousing any accidental flames!  Didn't need it, thankfully.

I held the felt circles near to the flame.  Sometimes beside the flame and sometimes above the flame, aiming the edges of the circle toward the flame.  It was really cool to watch how the felt would shrink away from the flame as it slightly melted and circled on the edge.  My fingers got alittle hot when I'd have to turn the circle and hold the already-melted edge, so I used tweezers to hold the felt at times.  Just gently go around the whole thing until it has melted and curled a bit.  Try not to scorch it but if you do just a little bit, snip that part off.

Can you see the right side has alittle bit of a hard edge to it?  It's been melted.  The sides with fuzz still on them have not.

The edges do not melt in a perfectly uniform way, so that's why a perfectly cut circle is not needed at the outstart.

All six felt circles have been melted to the size and shape I want.

Whenever possible, I like to make-do with whatever supplies I have on hand.  These vintage beads were purchased in a lot at a garage sale for $1.50, so I just hoped there would be beads in here that would be the right color.  Notice that the beads were the craft supply that I finally decided to put into my new milk jug caddy...read about it HERE.

Bingo!!  I was thankful to find a necklace among the bunch with the perfect color periwinkle blue beads!  Thank you Jesus!


Now to sew them together.  I sewed the bead to the double layer of felt circles, being sure to keep my stitches hidden under the top circle.  Used a double white thread and a craft needle to do this step first.  THEN I sewed the flowers to the headband.


I overlapped the felt flowers a bit as I sewed them to the headband, taking care to hide my stitching as much as possible.

Finis!!  Son Tanner again was my photographer, so hopefully you can see the finished product ok.

In love.  Smitten.  Like alot.
Blessings,
07 08 09 10
Pin It button on image hover