Saturday, September 7, 2013

70 Booth Rummage Sale? Bliss!!

Today was the county-wide 4H Rummage Sale at the Fair Grounds.  With more than 70 booths of goods for sale, it was a fun Saturday morning!


We got some wonderful treasures at this sale as well as a church Rummage Sale.  See that black computer bag?  Like new with plenty of zippered compartments.  $2!    Boots for my little Northern Indiana grandboy and a .25 Cat in the Hat book.  :)

I like to have a pretty seasonal plate on display, and this is my new Johnson Brothers Autumn plate.  :)  $2

Can you believe that a digital frame was on my Christmas idea list?!  This one is brand new and a great price...told my Honey and to save it for Christmas.  :)

And then there are the vintage items.  Oh. Man.  

The painted trays were popular in the late 50s and early 60s.  This is a miniature one, about 5 inches long.  50 cents!  This is before I washed it up.

Vintage Christmas ornaments with a vintage price tag on the end...50 cents!

I grew up with my mom's aluminum measuring cups and still love using them at her house.  These Ecko ones from years gone-by were....50 cents.  :)

My favorite find.  My Grandma from Texas had this very cookie jar throughout her married life.  She passed away 20 years ago and I have wished I would have asked for her cookie jar.  Today I got this one just like it at the Rummage Sale for $5.  I am thrilled!

A lady with a booth at the sale was selling things from her elderly father's home.  Including this 1960's Kodak Brownie Starmite camera and leather Kodak case...50 cents!  I had to get it.  It's so cute in my house...show ya in a minute.


I have been looking for one of these all summer!  It's vintage...cost 97 cents at Safeway many years ago (tag on the back).  I'm going to paint it Heirloom White and use it in my kitchen for hanging my vintage potholders and other vintage kitchenware on it.  Yippee!!

And now to see my goodies in their new found homes.  Kodak Brownie is hanging out on the mantel.  

For now, miniature handpainted metal tray is at home on the Gossip Bench.  Look...it appears that the lady of the home (in the 1940s of course,) came in from shopping and removed her hat, put her purse down, and took off her earrings to talk on the phone, laying them on the tray.  :)  I'm sure the tray will move around the house as I figure out new places for it.  May even stick it on the wall with a 3M strip.

The measuring cups are at home in my vintage drawer in the kitchen.  And see...I DID paint the drawer's handle aqua.  Love.

And Grandma's cookie jar...it has been washed and shined.  It's on my raised bar.  And the site of those raised ceramic cookies with all kinds of icings and decorations on them still make my imagination dance.  As a girl, I thought they looked so yummy!  Grandma's cookies inside the jar were yummy too.  I miss that beautiful, sweet lady.

Thank you for stopping by!  Your comments warm my heart!

Blessings,

Donna
Linked to:
Hope in Every Season
Moonlight and Mason Jars
Think Tank Thursday

Tuesday, September 3, 2013

September...Mantles, Groupings, and Flowers

Our Great Room last fall.  Since then we've gotten new sofas and made a paint change.  :)

Dear Husband spent Saturday painting our fireplace wall!  Yay!  We finally have an accent wall now.

Introducing Glidden's Homemade Butterscotch.

Warm and carmel-ish.  Perfect for Fall and will be great with Winter decor too.  Warm, cuddly puppy-girl adds to the ambiance.  :)

Makes the fireplace POP!  And makes me want to sit down with a cup of hot decaf and pretend it is chilly outside.  (It was 97 the Saturday of Labor Day weekend here in Southern Indiana when I was decorating for Fall!)

I was so happy to find my Quail.  He's been missing.  I find that looking through the nice grocery store floral departments after a holiday is a GREAT time to find decorative things for half price.  Mr. Quail came from Schnucks 2 years ago and I love him.
The next day, I remembered that I had some faux sunflowers in my silk flower stash, leftover from our teenagers' joint graduation party 6 years ago!  And they added the perfect bit of warmth and sunshine I felt was missing on the mantle.

I like to wait on putting out pumpkins for decorating til October.  So Sunflowers, birds, and fruit are great for September.

Opened a new tablecloth (from Marshalls) for the dining room table and took away the Summer centerpiece for this little makeshift September one.  Shopping the house is the best way to decorate on a budget!  My faux apple and pear are spilling out of the tin lunch pail, with pops of red and Sunflowers to tie it all together.

And here's a new wall grouping.  Our living room colors are carmels and browns with pops of aqua, turquoise, and burgandy.  Does the turquoise painted sconce shock your system?  It does my 15 year old son's!  But I love the bit of shock and awe it gives the wall.  :)


I've been patiently waiting for the right wall art over the sofa and so have hung things there on push pins (small hole and no hammer needed!) and even have the aqua triviet hung on a straight pin, so I could change it without making a big hole if I wanted to.  The black H which I just painted, is hung with...Sticky Tac!  haha!  The black sconce is hung on an existing nail which should probably be moved over an inch to the right.  But hey...I'm just gonna let these hang out on the wall and enjoy them where they are for now.  
I'll lleave you with some of my favorites blooming in my gardens right now.  Orange Zinnias are among the happiest and cheeriest of flowers.

And the Trumpet Vine is drawing the neighborhood Humming Birds to our yard.  Love them to death!

Thanks for stopping by!

Blessings,
Donna

Linked to:
Moonlight and Mason Jars
Think Tank Thursday

Saturday, August 31, 2013

Sweet From Start to Finish...a Book Review of Siri Mitchell's "Unrivaled"


Siri Mitchell was a new author to me, and I will def. be reading more of her books!  Unrivaled was a sweet story (pun?  yes!)about the candy making business in St. Louis in the early 1900s.  I learned much about the process of making candy, the rivalry of the candy makers in that day, and how hard it is to come up with a wonderful recipe for just the right candy that people will buy.  I enjoyed the history Siri painted of life in St. Louis in 1910...did you know that the ladies of that day scheduled a day of the week to be their 'at home' day, when they would receive visitors?  The beautiful artwork on the cover of the book fit the description of Lucy and Charlie perfectly and gave me a great visual as I read about their topsy turvey relationship.  It was a lovely story of charm and redemption which I would def. recommend.  Enjoy!

Blessings,

Donna

Tuesday, August 20, 2013

The Little Drawer That Could

I love old drawers.  I have an old sewing table drawer that is one of my favorite pieces in my house.  And recently this old drawer came home with me from Trader Bakers Flea Market for just $3.  I thought it just needed a good clean up.

Well, this IS the cleaned up version!  Haha!  The dirt will not come off.  I could paint it, and I still may.  But for today, this shabby little girl is being embraced for who she is.  :)  See the bits of red chippy paint underneath on the drawer pull?  I wonder if that was her original color.  Wouldn't she be cute with a red drawer pull?!


After she had been cleaned inside and out with warm soapy water on a rag, I decided to have her adorn my one corner in my kitchen that is reserved for decor.  Underneath I placed a beautiful kitchen tea towel I got on clearance at Marshalls.  Anytime you find a pretty tea towel on clearance, grab it!  They make excellent fabric pieces for decorating.

Here is is for you to see...it has aqua details...aqua makes everything more beautiful.
Now to build a pretty vignette inside the drawer.  I started with this plate picturing an old church.  A bit of sticky tac putty at the base helps it to stand up steady in the back of the drawer.


Next I needed some fabric  inside the drawer to add some softness.  This green and white gingham napkin was perfect.  I also like to buy pretty fabric napkins on clearance to use in decorating.  I added a little tidbit stand that I made from a china plate and a glass candleholder.  And placed 4 antique kitchen items  on top of it...cookie cutters, a juicer, and spices.  That box of cloves was in my Grandma's kitchen when she died.  Treasure.

Anther piece that would add more height, the glass cupcake stand with a birds' nest inside was next, as well as a ceramic tile painted with chalkboard paint.  And lastly, my sweet antique egg beater.  The Shabby Little Miss is looking good!

Notice a change here?  I settled on using my 1950s North Star plate in the back, rather than the church plate.  It is taller and has the added bonus of aqua stars on it.

And then the crowning touch.  I've had this little vinyl wall saying set aside for several years.  Loved it but couldn't decide where to put it.  Seeing it in my friend Tammy's kitchen recently, in a similiar place, I decided THIS is where it belongs.  This little corner is my bit of quiet and pretty peace in my hardworking kitchen.  I know it will remind me many times a day to Be Still and Know God.  Just reading it brings my spirit to a quieter place.


And I am done.  For now.  :)  I've always had decor in this corner, but I really love that now it is all contained in a drawer.  Looks neater.  Less cluttered.  And I'll have such fun changing out the contents of the drawer display with each season.  
What do you think?  Want to keep your eyes open for a cute old drawer?  I am even toying with painting the drawer pull aqua.  My Kitchen Aid Mixer is aqua too.  #favoritecolor

Thank you so much for stopping by.  Your comments are so appreciated!  And I hope you'll be back soon.

Blessings!
<Donna @>

Tuesday, July 23, 2013

Amazing, Moist Chocolate Chip Bran Muffins


Long ago when I had given birth to one our babies, a sweet friend brought us dinner.  And part of the dinner was a tin full of Grandma Larson's Bran Muffins.  They were from a recipe in her husband's family and they were moist, delicious, and tender.
They have become my favorite muffin recipe!  And since I made some this week, I thought I'd share this treat with you.  I have made some adjustments to the recipe to fit the ingredients I have on hand and to add a bit of chocolate to them.  So here we go!


The adjustments I made to the recipe are listed below:

1 1/4 c. boiling water
3 c. raisin bran flakes
1/2 c. cooking oil
1 c. sugar
2 beaten eggs
2 c. buttermilk (from a carton or homemade sour milk or buttermilk made with dry mix)
2 1/2 c. flour
3 tsp. soda
1/2 t. salt
1/2 cup chocolate chips stirred up with a teaspoon of flour so they won't sink to the bottom of the muffin.

Go ahead and follow the original directions while making the above substitutes if you wish.  I don't buy All Bran cereal, so that's why I just use bran flake cereal or raisin bran cereal.  I increased the boiling water since I add it to the whole 3 cups of raisin bran.  And please know that this recipe is very forgiving...if your batter is alittle thinner than you think it should be (mine was this past time) just add some more bran flakes to it.  Works just fine.

The recipe makes about 24 muffins.  I like to bake them right in the tin without liners but then when I give them to friends or family I sometimes place the finished muffin in a liner for a nicer presentation.  As the recipe says, you can bake a batch, then keep the rest of the batter in the fridge for up to 6 weeks.  Brilliant!!

They are equally good without chocolate chips, but in my opinion, the chocolate chips send them over the AMAZING top.  :)  I also top dress the unbaked muffin with chopped walnuts and a few more choc. chips.
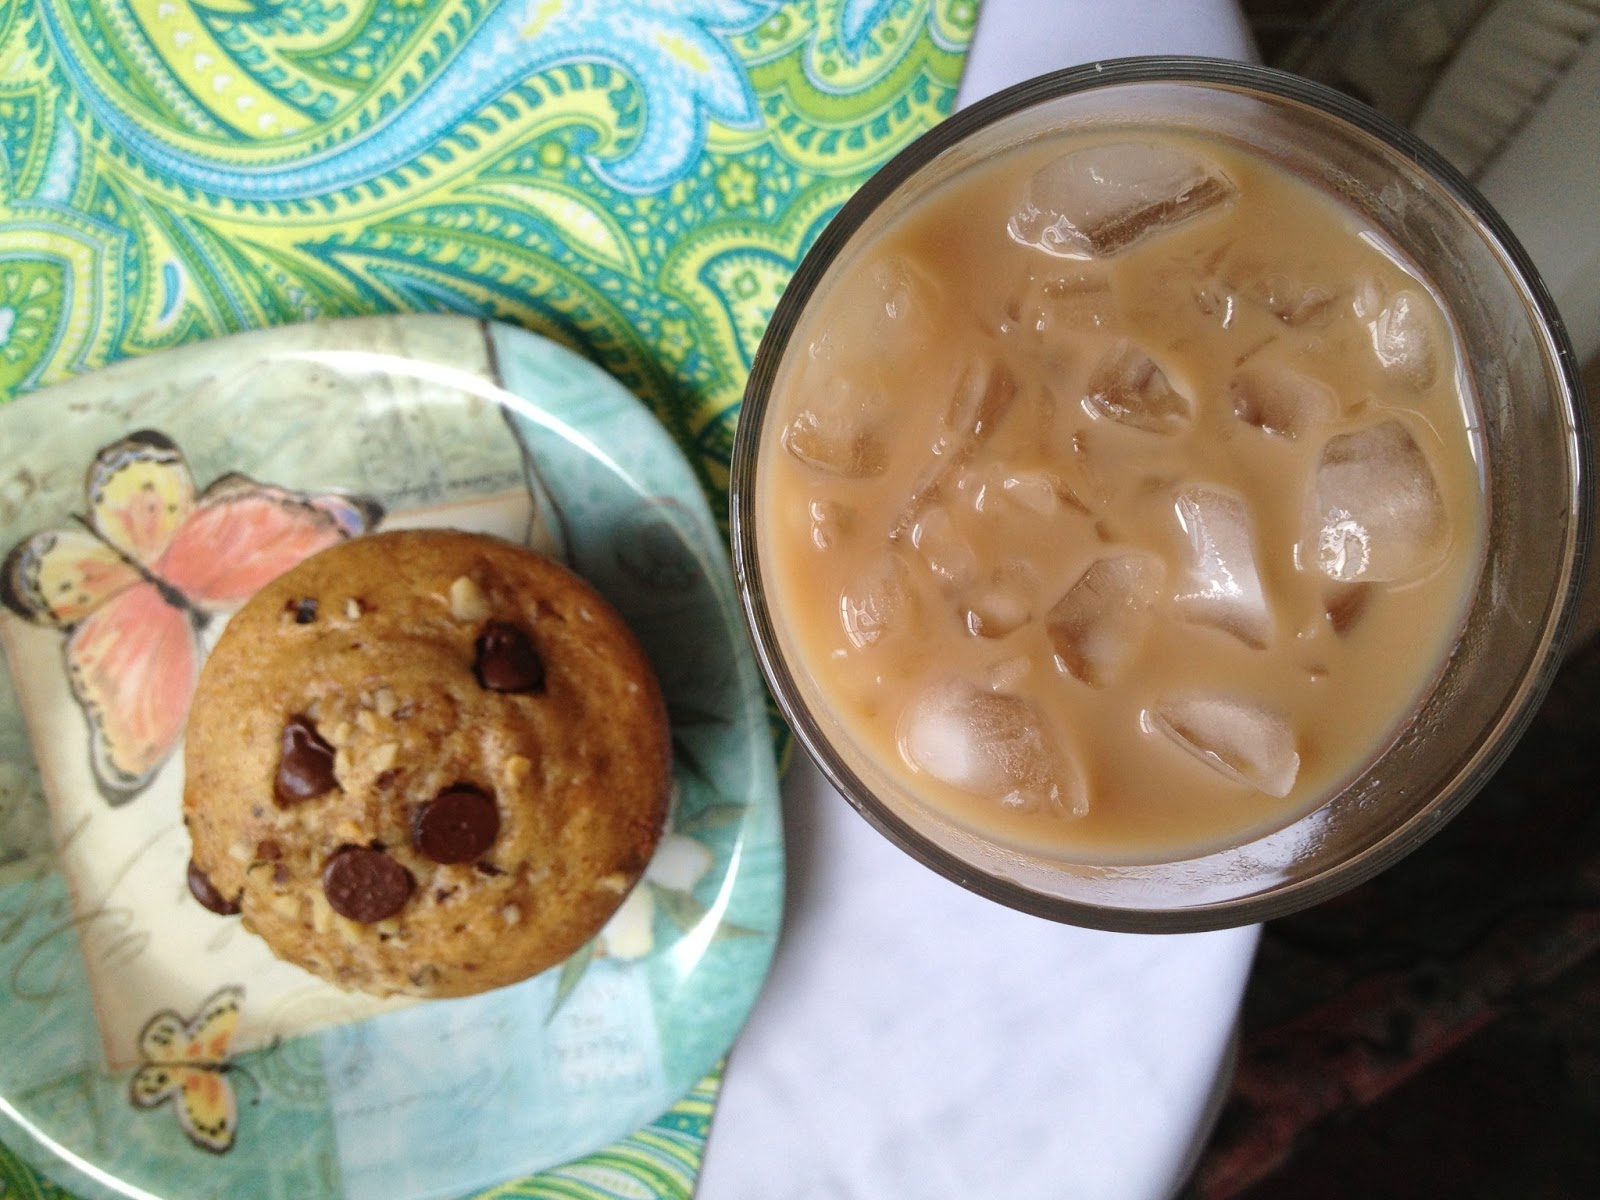
I just had one, right from the oven, with a tall glass of iced coffee.  Summer bliss!


V E R Y moist.  Even 3-4 days after you bake them.

I gave some to our neighbor friends, and they all enjoyed them to the max!  These can be a nice gift for neighbors, families who need encouragement, new moms, friends at Christmas, etc.
And a BIG thank you to Debbie for sharing her recipe in our church cookbook many years ago and for introducing me to these wonderful treats from your family!

Enjoy!

Blessings,
Donna

Monday, July 8, 2013

A Semi-Homemade Toddler Photo Book

I have been so blessed by God!  Not only do I have 2 adult children with wonderful spouses plus a teenage son still at home, but I have TWO grandbabies who are just 7 weeks apart in age!  And not only do I have two close in age, but I have a Grand BOY and a Grand GIRL!  The best of both worlds!  Carson and Eloise are my joy and delight.


Since I love to make things for them, I had a ball making a cute photo book for them featuring my little dog Gracie.  They like to see Gracie when I FaceTime with them, so I knew she'd make an interesting book for them to read.  I'm always looking for ways to build my and my husband's relationship with them even though we live 6 hours apart and only see them about every 2-3 months.

I purchased a $1 board book at the Dollar Tree as the base for my book.  I had photos printed to go in the book and in order to fit more photos in this little 6" square book, I used Walmart's collage prints to put two photos on a 4x6 print and then cut them apart.  I also used some full 4x6 inch prints for a few special photos.

I cut out cardstock pages to fit over the board books pages, using a pattern I traced on cardstock of the page.  Then I laid out the photos on the pages in an order that fit a little story I could tell about Mimi's Puppy, Gracie.
I glued the pages to the book, and the photos to the page, adding some typed up story balloons to fit with each page.  Stickers added a few more cute details to each page.

You know how the first time you make something, you learn alot and find things you'd do differently?  Well, so was the case with this book.  I Mod Podged the front and back cover to make it toddler-proof.  I tried to Mod Podge the inner pages too but the paper began to bubble.  I think it might have helped to attach the pages to the book with Mod Podge first rather than with spray adhesive.  Then maybe the Mod Podge over the top of the pages/pictures would not have bubbled the paper.  I will try that next time.  I also tried Clear Contact Paper, and it wasn't ideal either.  Let me know if you figure out the perfect solution before I do!
 

For Carson's book I made the back cover be a picture of his Mama (our daughter) with Gracie the Dog.  For Eloise's book, which is in process, I will put a picture of her Daddy (our son) with Gracie.  Fun to personalize the books this way.


I love these GRANDDARLINGS so much!  Carson is full of curiousity, noise, busyness, and sugar.  Eloise is sweet, gentle, talkative, and so sugary.  Our tradition is that each time I get to be with both babies at once, we get a picture of me holding them together.  It's getting harder, as you can see!  :)  
Thank you for stopping by!  I would love to hear about it if you try this idea too.  I've thought of some fun photo books ideas for the future...one about all the family members, one of nature pictures that I take where they have to look and find things in the photo, one for holidays, etc.  So many ideas...so little time!
Blessings,
Donna


Linked To:
Lady Bug Blessings
Show Me What Ya Got
Home Stories A-Z
Crafty Girl Linky Party
Tater Tots and Jello
Sew Many Ways
Made By You Monday
Inspiration Monday Linky Party
07 08 09 10
Pin It button on image hover