Dear Blog Friends,
I recently became a member of the Waterbrook/Multnomah Book Reviewing Team! I get to choose a new book from their list, they send it to me for free, I read it, post a review of it on my blog, and then get to keep the book! :) Win/win!
The first book that I am reviewing is a delightful Christmas tale called Two Tickets to the Christmas Ball by Donita K Paul. The cover of the book is magical and warm. It drew me in right from the start with its blues, whites, snow, and lights.
This is a tale of mysterious matchmaking booksellers who bring two lonely hearts together in time for Christmas. Mystery is a great adjective for the entire story. The real and possible is mixed with the magical and whimsical for a story that would make a great movie!
Cora Crowder is the only Christ follower in her disfunctional, extended family. She manages life on her own with the company of her kitty and a good job. Simon Derick is one of the managers in Cora's place of employment. He has a loving Christian family circle consisting of his mom, aunt, Downs-syndrom sister Sandy, and grandad. But he has no social life and fails miserably when it comes to initiating relationships with the opposite sex.
Cora and Simon meet unexpectedly at a quiet little bookstore down the street from their jobs. They have had little contact before even though they are employed at the same place. They both go home with their Christmas gift purchases from the bookstore and find that they have each received a free ticket to the Wizards Christmas Ball...an event of which few have heard. The Ball's website looks promising, however; the photos look inviting and intriguing.
And thus begins the adventure. Simon deems to take his sweet sister to the ball as a Christmas treat, but Cora becomes involved in a way that only whimsy and the Lord can ordain.
The story does involve the discussion of wizards; they are defined as being "old, wizened ones", not a part of any type of occult activity. As a believer that does not even like to be involved in Harry Potter type things, this was a stretch for me. However, there is only good involved in this story, and the wizard references are made with a twinkle in the eye, rather than as a reality.
This story is a mix of the mysterious and the possible, to create a truly fun, light, uplifting literary journey. On the serious side, disfunctional family relations are also addressed with Biblical solutions of how to handle them. I would recommend this to anyone with a love for Christian Christmas stories. In the meantime, I shall be on the lookout for the Warner, Werner, and Wizbotterdad's Bookshop on the secretive Sage Street. :)

I have read in the past couple of years, about bloggers choosing a 'word' for the new year. I have chosen a verse for the new year in the past, but am intrigued with the idea of choosing a word for the year.
A word that I want to focus on. To live. To become. To make a part of my heart and mind.
As I contemplated this idea, I saw a word that seemed to immediately fit. It's a word that already expressed a little flicker of hope in my heart. And a word that I believe will be 'faith in action' for me.
My word for 2011 is.....Anticipation.
It fits a special prayer request that I have for 2011. It fits our lives right now as we are newly transplanted to southern Indiana and still have much to learn and many new friends to make. It fits my mood when I arise in the mornings...greeting a brand new day full of possibilities. I usually anticipate each new day with hopes and plans.
Anticipation also shows that I am living by faith that God is going to work out His plans for me and my loved ones in the coming year. His plans will not be thwarted. And they will be good.
I love fresh, new starts. Mornings. New months. New beginnings.
So I am looking forward to 2011 with A N T I C I P A T I O N. To see what the next chapters are in this story of our lives that God is writing.
What word might you choose for 2011?
Fall, fires in the fireplace, and Fridays put me in a crafting mood. Fall is definitely in the air here in southern Indiana! We enjoyed our 'first fire' of the season in the fireplace last night...so relaxing and cozy. And today is Friday! Here are a few things I've made this week. Our little great niece, Ruby Jane, is turning one year old tomorrow! So I celebrated her little precious self by making the above Bear card for her. I used my new Cricut for the 4th time ever, and was delighted with how nice it was for quickly coming up with circles, stars, and ovals. I saw this Bear on BHG.com as a puppet...so I changed up the colors and style a bit to make it a birthday card for Ruby. Happy Birthday little girl!
 Then last night as the fire was going, I had a terrible itch to stitch. Finally decided on this sweet little felt bookmark. It isn't perfectly proportioned or stitched as it was my experiment, but it was so much fun, simple, and relaxing to make.
 It has a top (the flower) and a bottom (the leaves) in one of my favorite color combinations. I had a turquoise ribbon which worked too. I plan to make more of these and will purchase some grossgrain ribbon, alittle wider, to use for the next ones. This would be a simple gift to make and mail in a b-day card. I love flat little gifties that can be mailed in a card.
 Did I put you in the mood to craft?! The internet is full of ideas you can copy, if so!
Enjoy this last weekend in October....wishing my 2nd favorite month wasn't nearly gone!
Simple Joys to You!
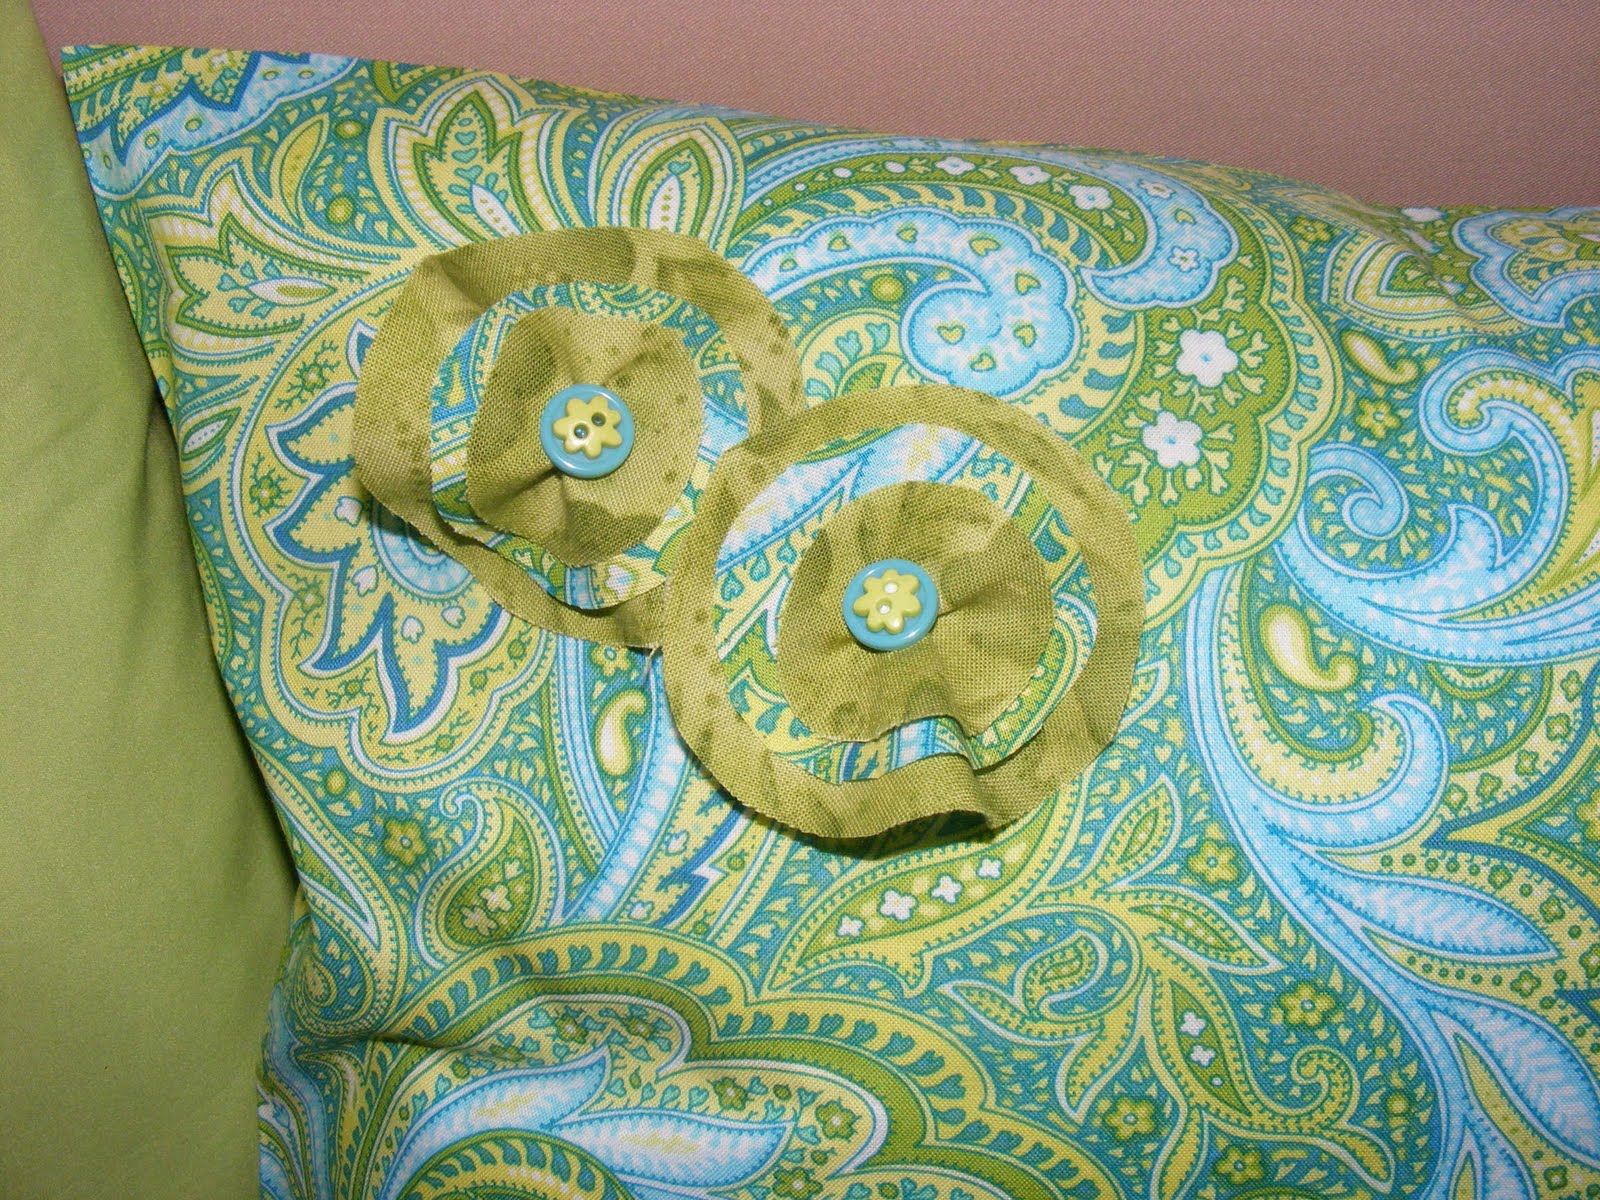
Recently I wanted to make a pillow to jazz up our peaceful, serene bed. The aqua coverlet and light paisley pillow shams are just what I wanted...a beach cottage feel. And the green pillow is a great accent color. But just a little zip of pattern/color was still needed in my opinion. So I bought this amazing paisley fabric with all three of the colors I wanted for just a few dollars. Yay! I made a bolster pillow pretty easily, using a small plate as the template for the round ends, and then just sewing a rectangle of fabric to each of them, stuffing it, and whip stitching the opening closed. However, Little Paisley Pillow still needed some embellishments. Recently while wearing a favorite but older aqua knit shirt, I noticed it had a small hole in it. Bummer. But before putting it in the Goodwill pile, I realized it was the perfect color for embellishing this pillow! Ha!
 I cut a strip from around the shirt, and it made a great 'band' around the pillow...off center made it more interesting. Then I took the aqua knit, a scrap of the paisley, and a scrap of another green (from my sewing bench project), and fashioned a fabric flower....gathered it in the middle a bit, and added a button. Two of those were the finishing touch. Loving the up-cycled embellishments and the splash of color on our bed!
 With the remainder of the paisley fabric, I made a pillow cover for this little pillow that no longer matched our bedroom.
 Two little circle-scraps-buttons-flowers for embellishment on it and....
 Finis!! (My high school French still comes back to me now and then. Madame Steele would be pleased!)
 Thank for sharing in my little project...hope you will think of some kind of up-cycling project you can do with a pretty but worn garment too!Enjoy!!
There's nothing like fall for getting a gal in the mood to bake, is there? And baking bread just seems to be the most delicious idea of all...especially when you have a pot of soup bubbling in the crockpot. At the request of my niece Kara, I am posting 2 of my favorite bread recipes along with a few helpful hints. I like to use my bread maker to do the kneading and the rising of the dough. I don't have alot of arm strength, so kneading dough is not fun and therapeutic for me! Therefore I put all of these ingredients in my bread machine and set it for the dough setting, which takes 90 minutes.
Wheat and Honey Bread
1 and 2/3 cups tepid water
2 t. butter or margarine, softened
1/4 cup honey
2 t. salt
2 1/4 cup whole wheat flour
2 cups white flour
2 t. active dry yeast
(Hint: I like to add more fiber and nutrition by substituting about 1/4 cup wheat germ and flax meal [together in the same 1/4 cup] for 1/4 cup of the white flour. Adds beautiful color and a nice nutty flavor.)
Let the bread machine do it's thing. (Hint: check on the bread maker as it mixes. If the corner ingredients don't get mixed in well, help it out with a rubber spatula or wooden spoon. And if the dough seems alittle too dry, add a teaspoon of water).
Once the dough cycle has finished, take the dough out onto a pastry cloth dusted with flour or onto waxed paper dusted with flour. I like to cut the dough into 3 equal parts and form 3 cute little artisan-style loaves...oval and not too fat as they will swell when they rise for the last time. Then I take a sharp knife and cut 3-4 diagonal slices about 1/4 inch into the dough. Looks nice! Put the three loaves on a baking stone or on cookie sheet (lined with parchment paper if possible or just greased.) Cover with a clean tea towel and let them rise again til they are nearly double in size. (Hint: if I am in a hurry, I let them rise about 30 minutes then go ahead and bake them knowing they will rise more in the hot oven). Bake at 350 in a preheated oven for 20-30 minutes. You will know the bread is done when it is browned and when you can tap the top and it sounds a bit hollow. Take out out of the oven and rub a stick of butter over the hot tops. Will give the bread a moist, shiny, buttery appearance and taste! Enjoy one loaf today, freeze a loaf for later if you like, and most importantly, wrap up one loaf to give to a neighbor or friend. :) Homemade bread is a powerful hug and hello to those around us.
#2 Moist Cheddar Bread
1 1/4 cup tepid (room temp) water
2 cups whole wheat flour (if you don't have this, use all white flour)
2 cups white flour (to which I once again substitute about 1/4 cup Wheat Germ and Flax Meal for 1/4 cup of the white flour.)
1 cup shredded cheese
2 T. sugar
1t. salt
1 3/4 t. yeast
Again, layer all of these ingredients in your bread machine pan. Do not let the yeast come in contact with the water. Just make a 1/4 deep well in the dry ingredients at the top and put the yeast in that.
Send it through the dough cycle, checking the dough during the first 10 minutes to make sure it isn't too dry and is mixing together well.
When it completes the cycle, follow the above instructions for baking it.
There...now YOU, like the Little Red Hen, can bake an incredibly tasty loaf or 2 or 3 of homemade bread.
Enjoy!
07
08
09
10

 Like my craft room? It's called...the kitchen counter! :) That's where I do my best work.
 I cut the paper to fit the sides of the can and then used spray adhesive to make them tacky on the wrong side. Again, the kitchen and some newspaper works just fine for this step!
 I covered the cans, then used 2 different circle punches to create some coordinating flowers for the front. And found white buttons to be the crowning touch.
 My little Snowman wanted in one of the pics. ; )
 This took such little time that I went ahead and covered the lid of an empty ice cream bucket too. In just minutes I have three cute craft caddies made out of trash and on-hand papers. Fun! Thanks for looking...I'll let you go....I'm ready to go put my little caddies to work!